Arctic is a name well-known and beloved by many PC enthusiasts for providing high-value, quality cooling solutions. I caused a bit of a controversy with my last review, where I didn’t mince words, stating “the Liquid Freezer III is unimpressive.”
Well, it appears that Arctic took my feedback to heart. We’re looking at the Liquid Freezer III Pro today, and let me tell you guys, they take the pro moniker very seriously. If I didn’t know better, I’d swear they designed this cooler just for me. Its performance blew away my expectations – I honestly couldn’t believe my own results until I tested it with both Intel’s Core i7-14700K and AMD’s Ryzen 9 9950X3D CPUs.
Will Arctic’s Liquid Freezer III Pro make our list of best coolers on the market? There’s no doubt about it. Let’s take a look at the specifications and features of the cooler, then we’ll go over thermal performance with both Intel and AMD CPUs, as well as noise levels. Since this is our first review including AMD’s Ryzen 9 9950X3D, I’ll try to spend a little more time explaining how I test coolers and why I chose the methods shown in today’s review.
Cooler specifications
Swipe to scroll horizontally
Cooler | Arctic Liquid Freezer III Pro |
MSRP | $124.99 MSRP $89.99 Launch Discount |
Radiator Material | Aluminum |
Lighting | None as reviewed ARGB variants available |
Warranty | 6 Years |
Socket Compatibility | Intel Socket LGA 1851/1700 AMD AM5 / AM4 |
Unit Dimensions (including fans) | 398 (L) x 120 (W) x 63mm (D) |
Maximum TDP (Our Testing) | >265W with Core i7-14700K and AMD’s Ryzen 9 9950X3D |
Packing and included contents
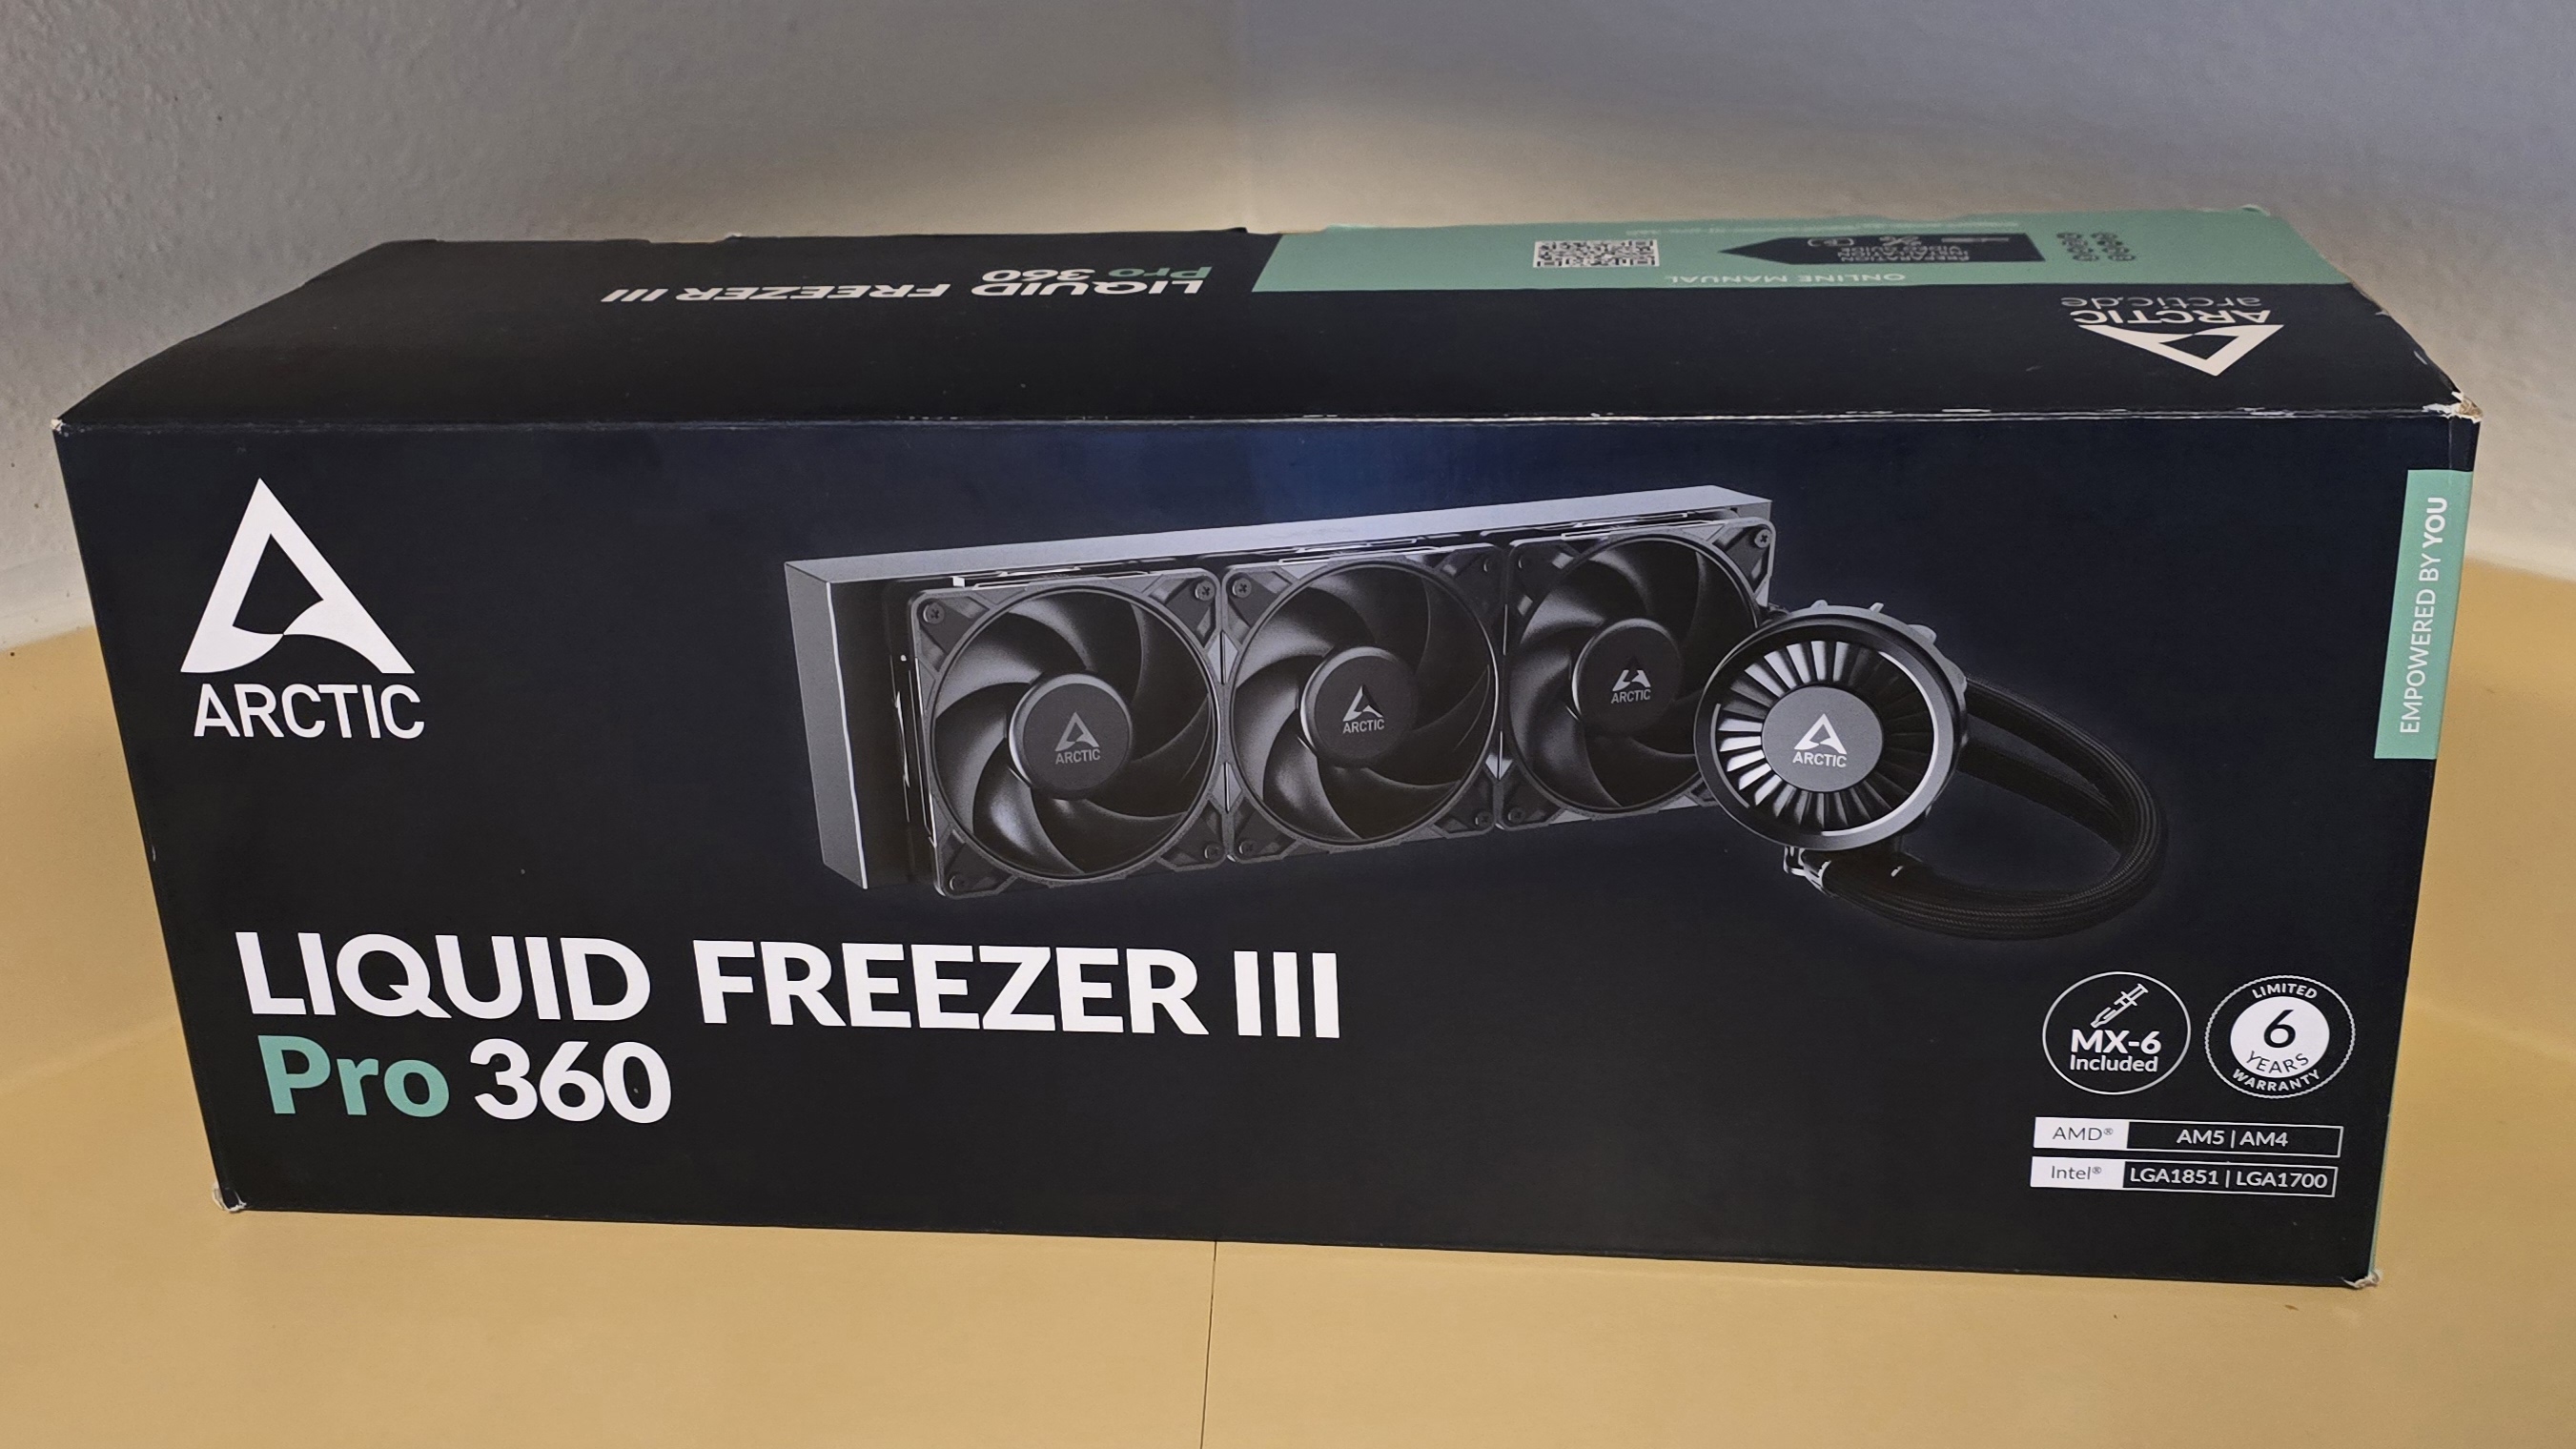
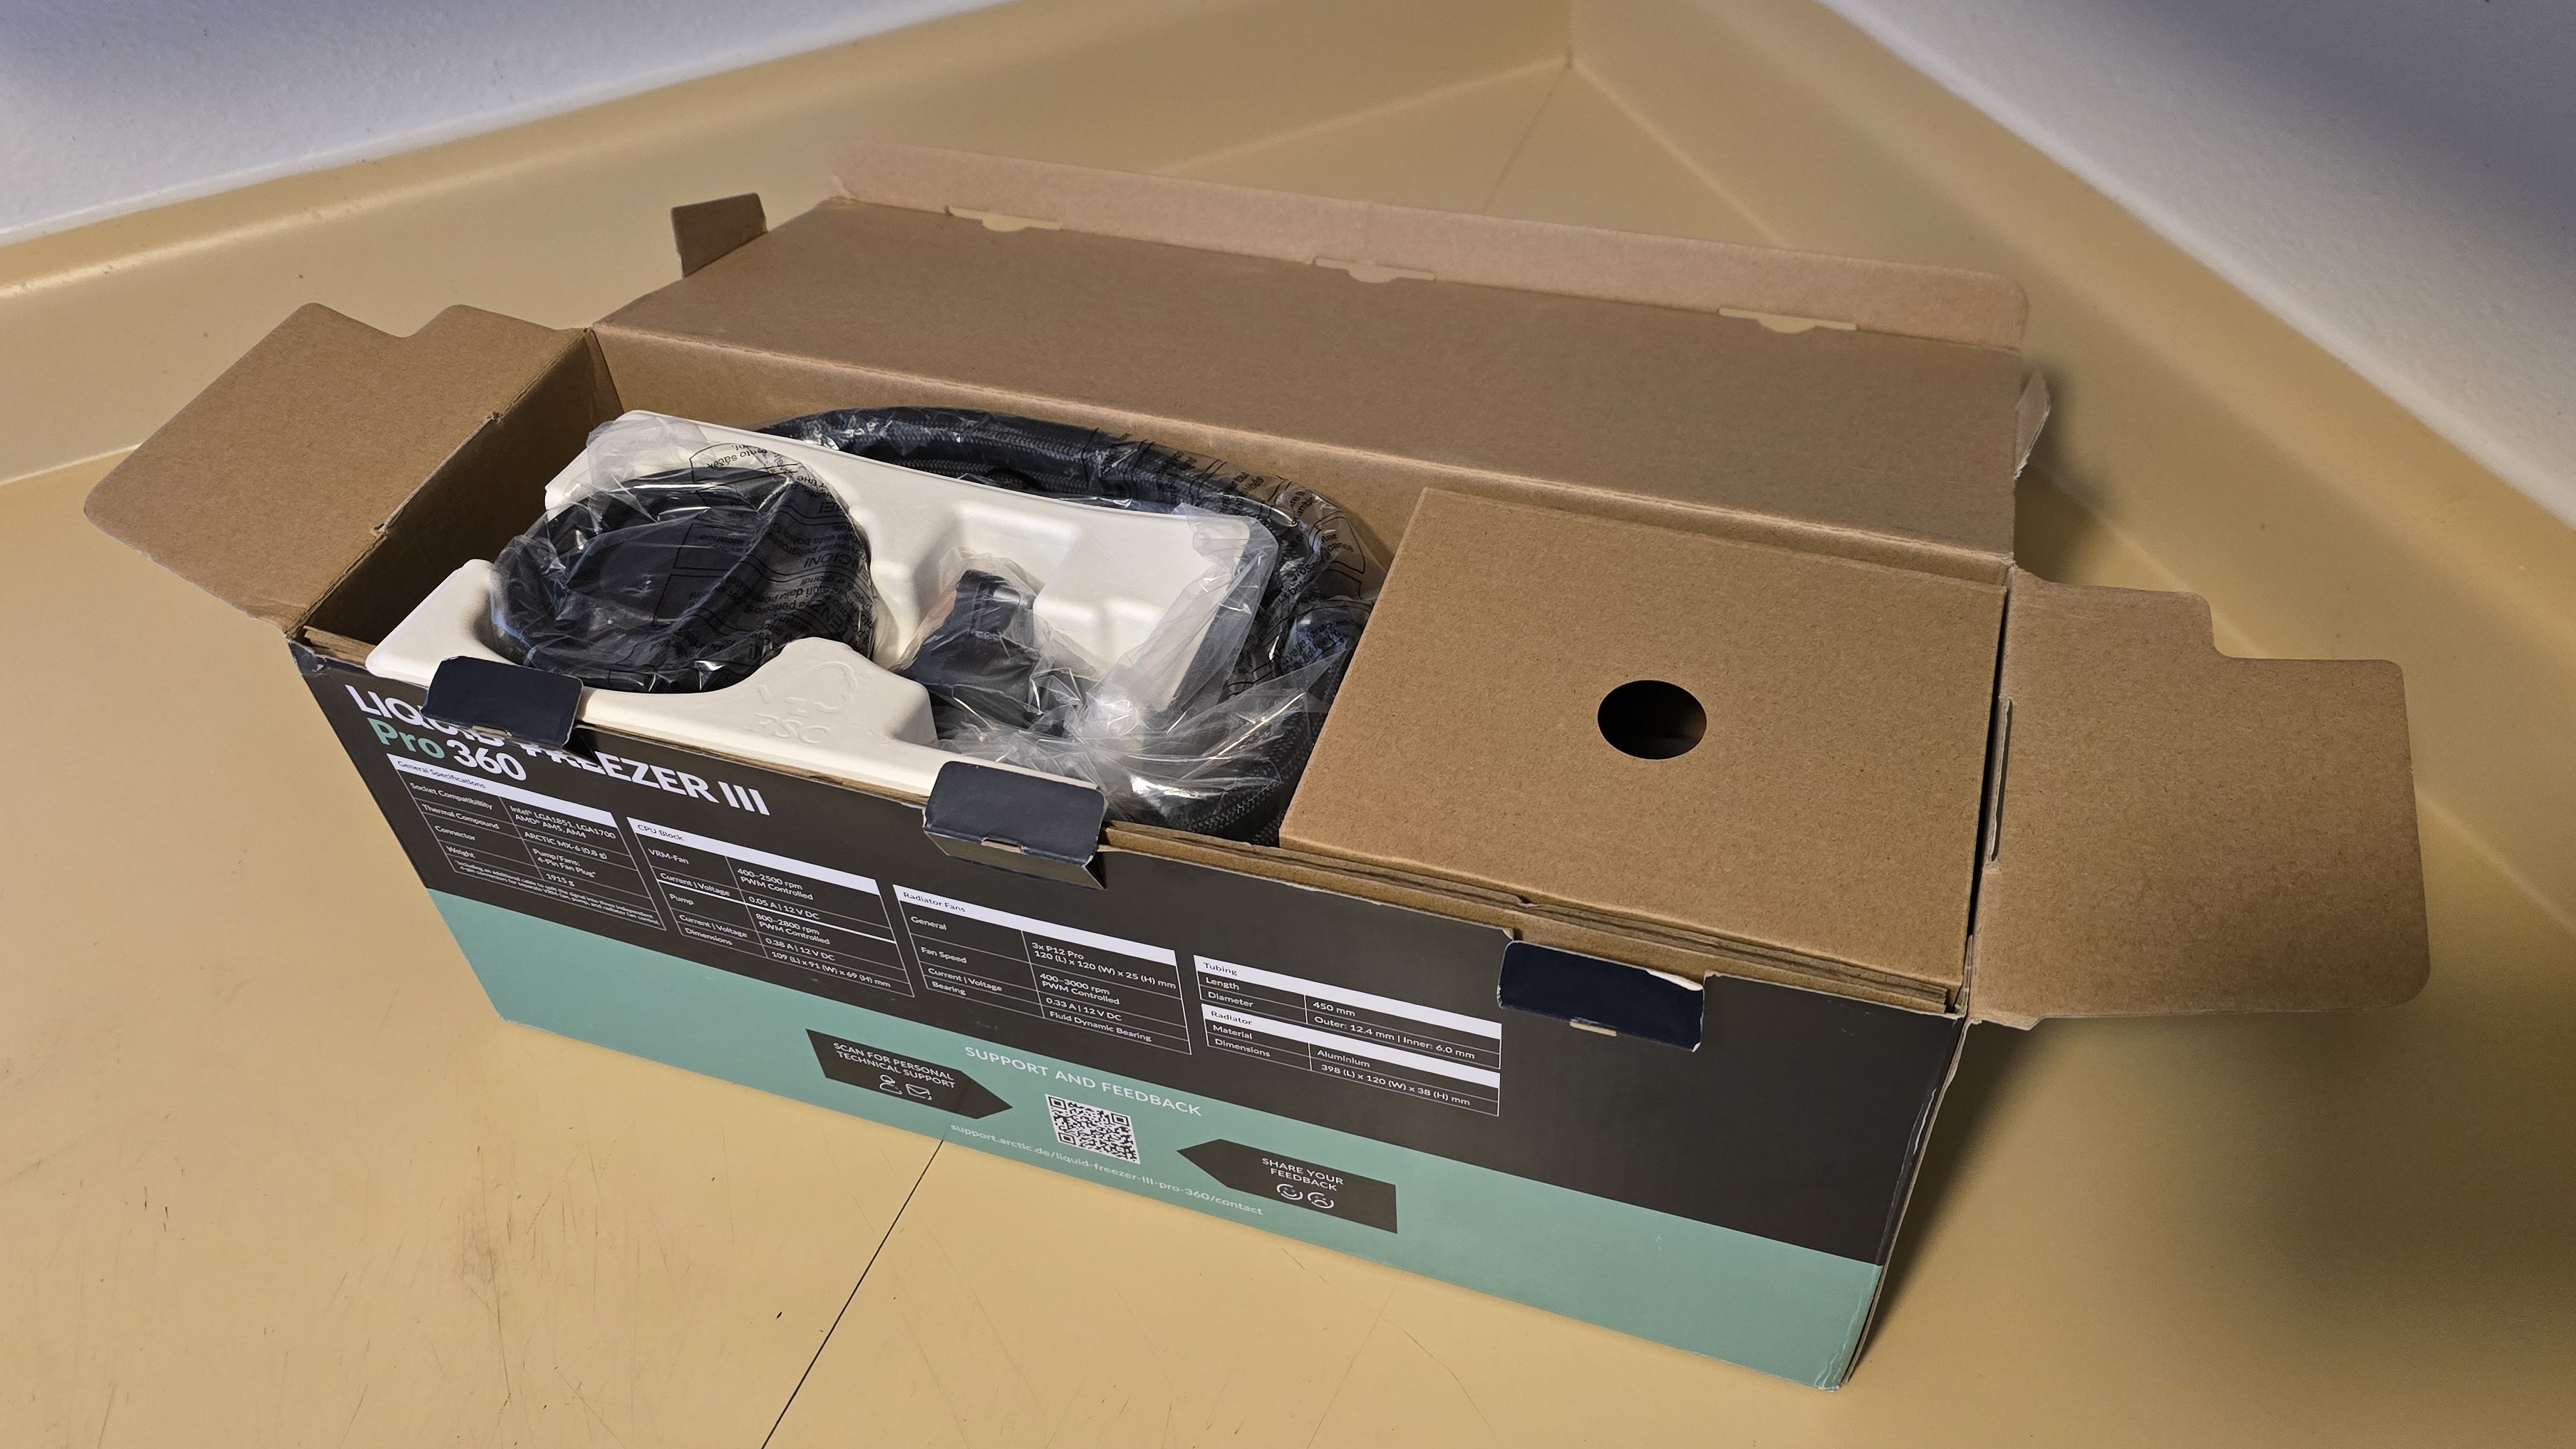
The packaging for the cooler is typical for Arctic, advertising the cooler on the outside. Opening the box reveals the contents, carefully protected and packaged with foam, plastic, and cardboard.
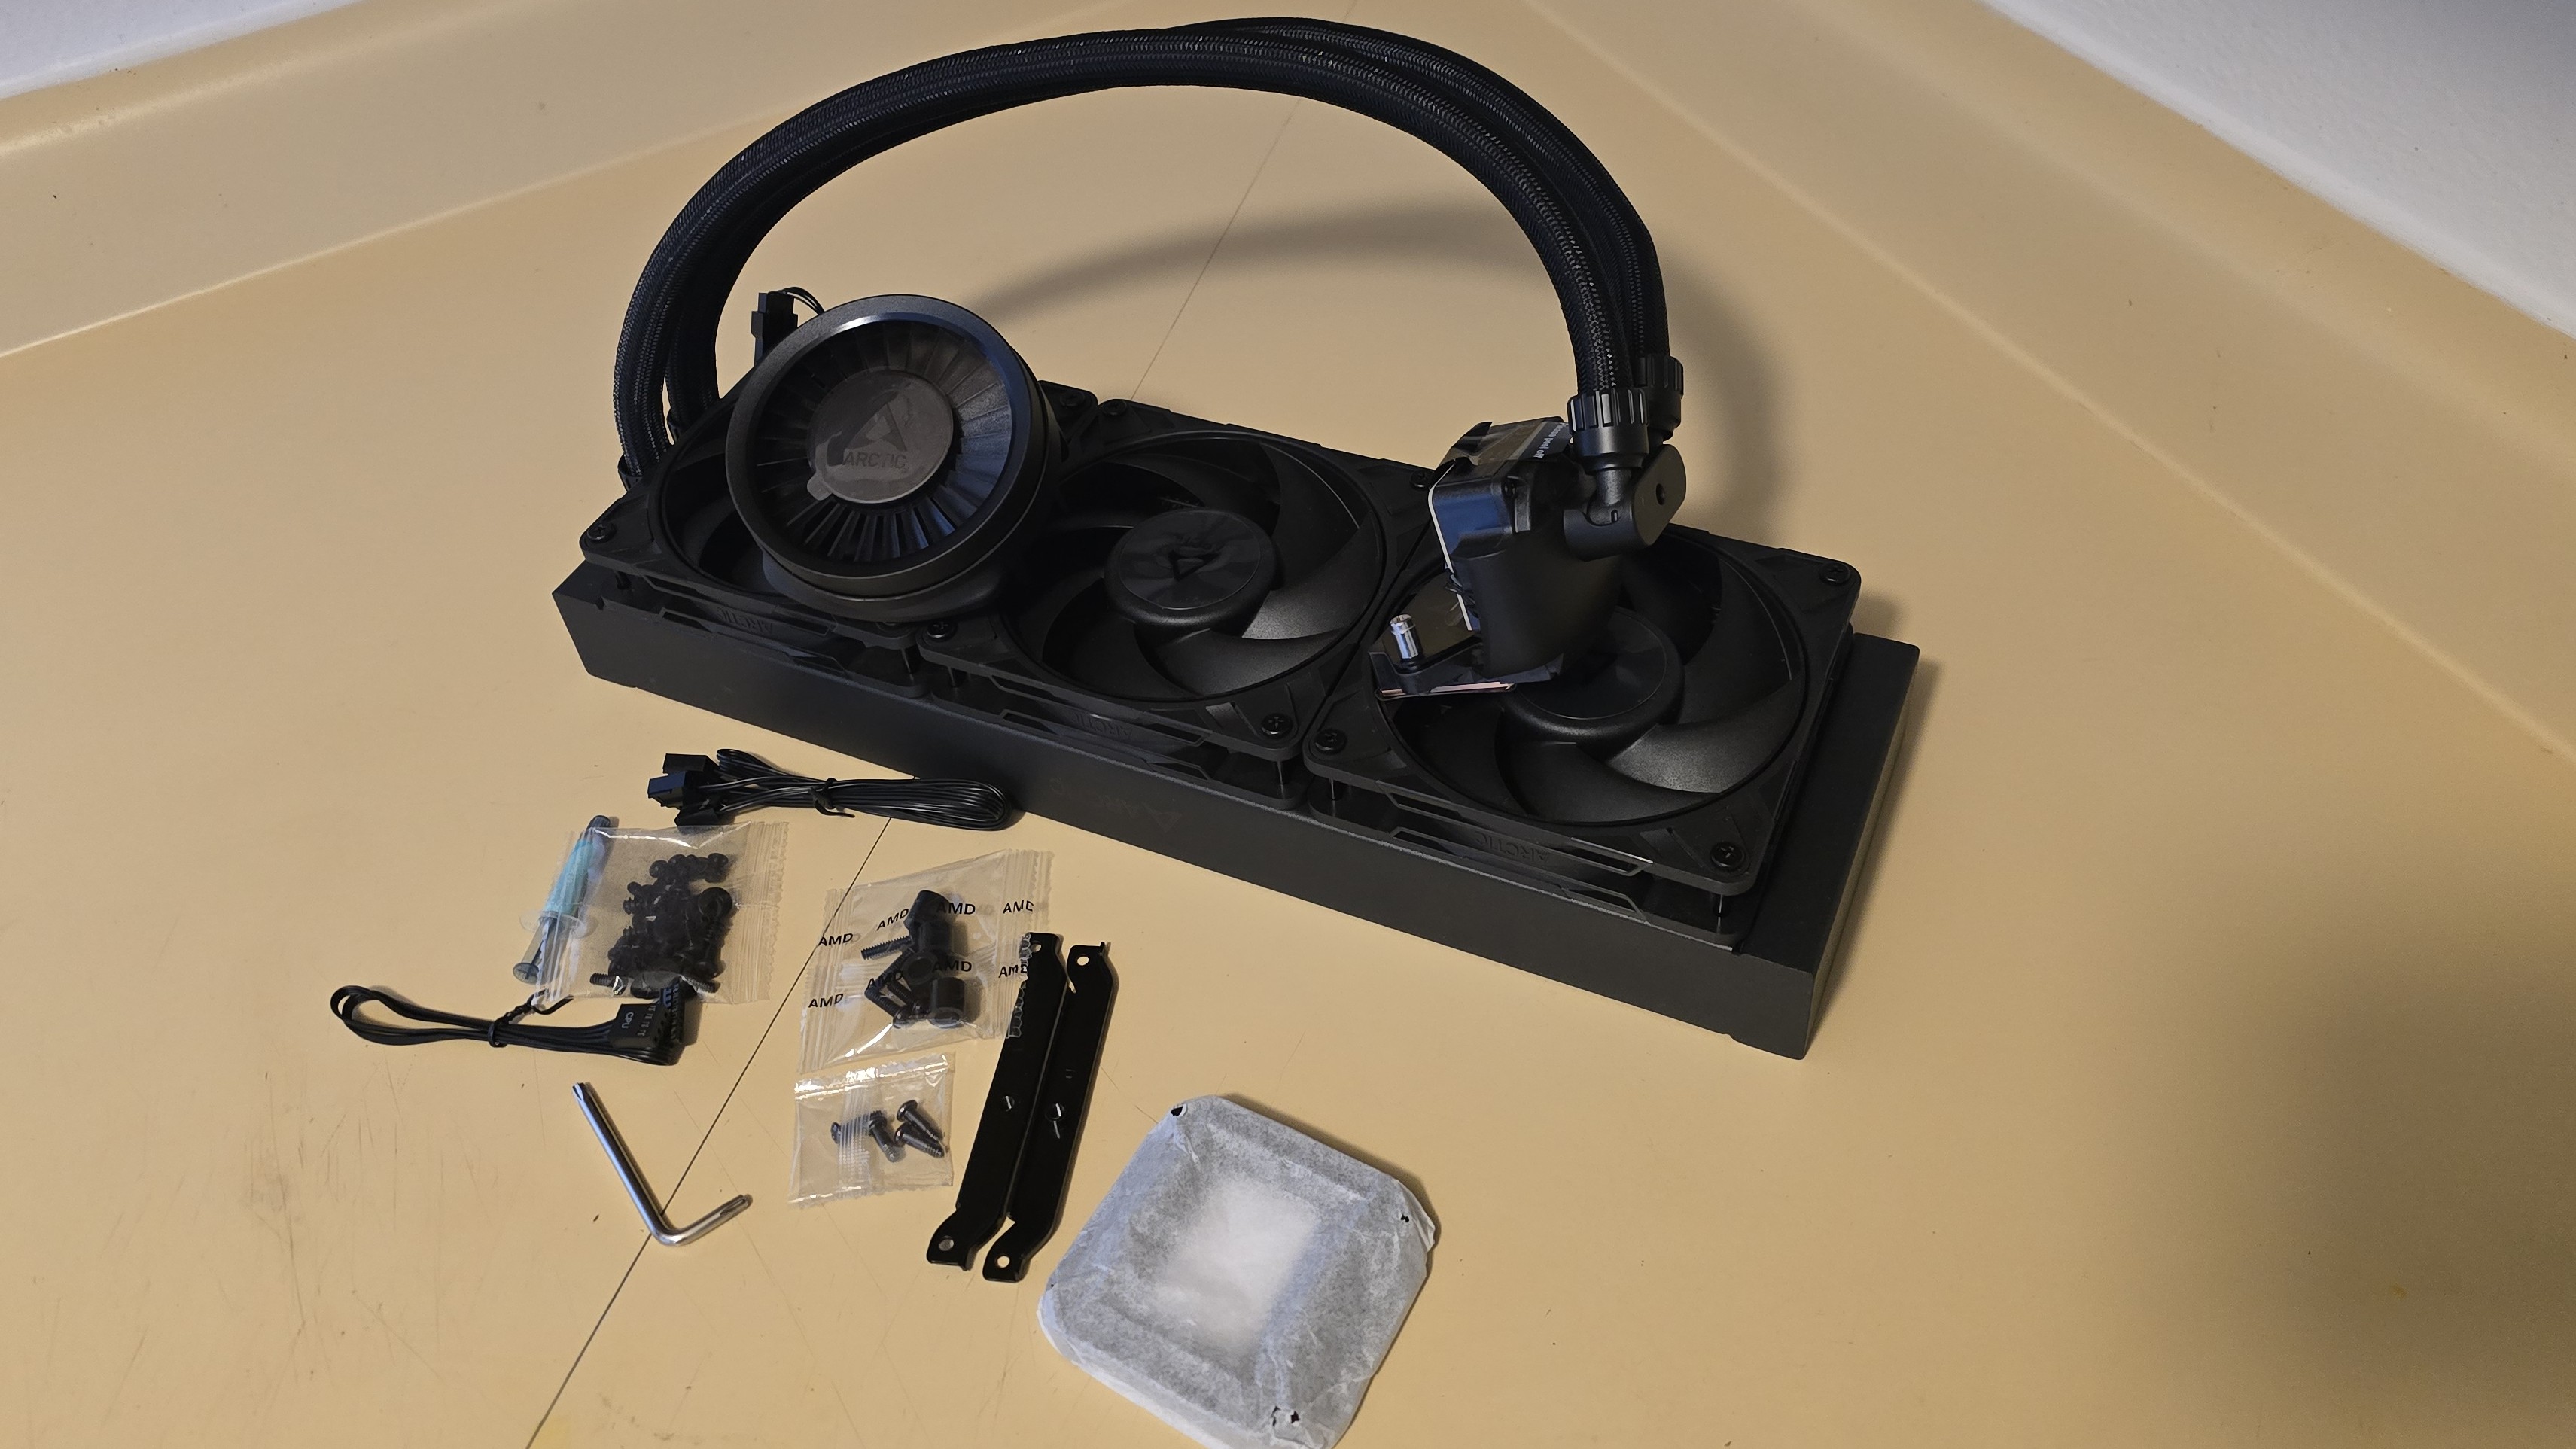
Included in the box are the following:
- 120mm P12 Pro fans
- 38mm 360mm radiator
- Thermal paste
- Mounting accessories for modern AMD and Intel platforms
- Installation manual
Features of Arctic’s Liquid Freezer III Pro
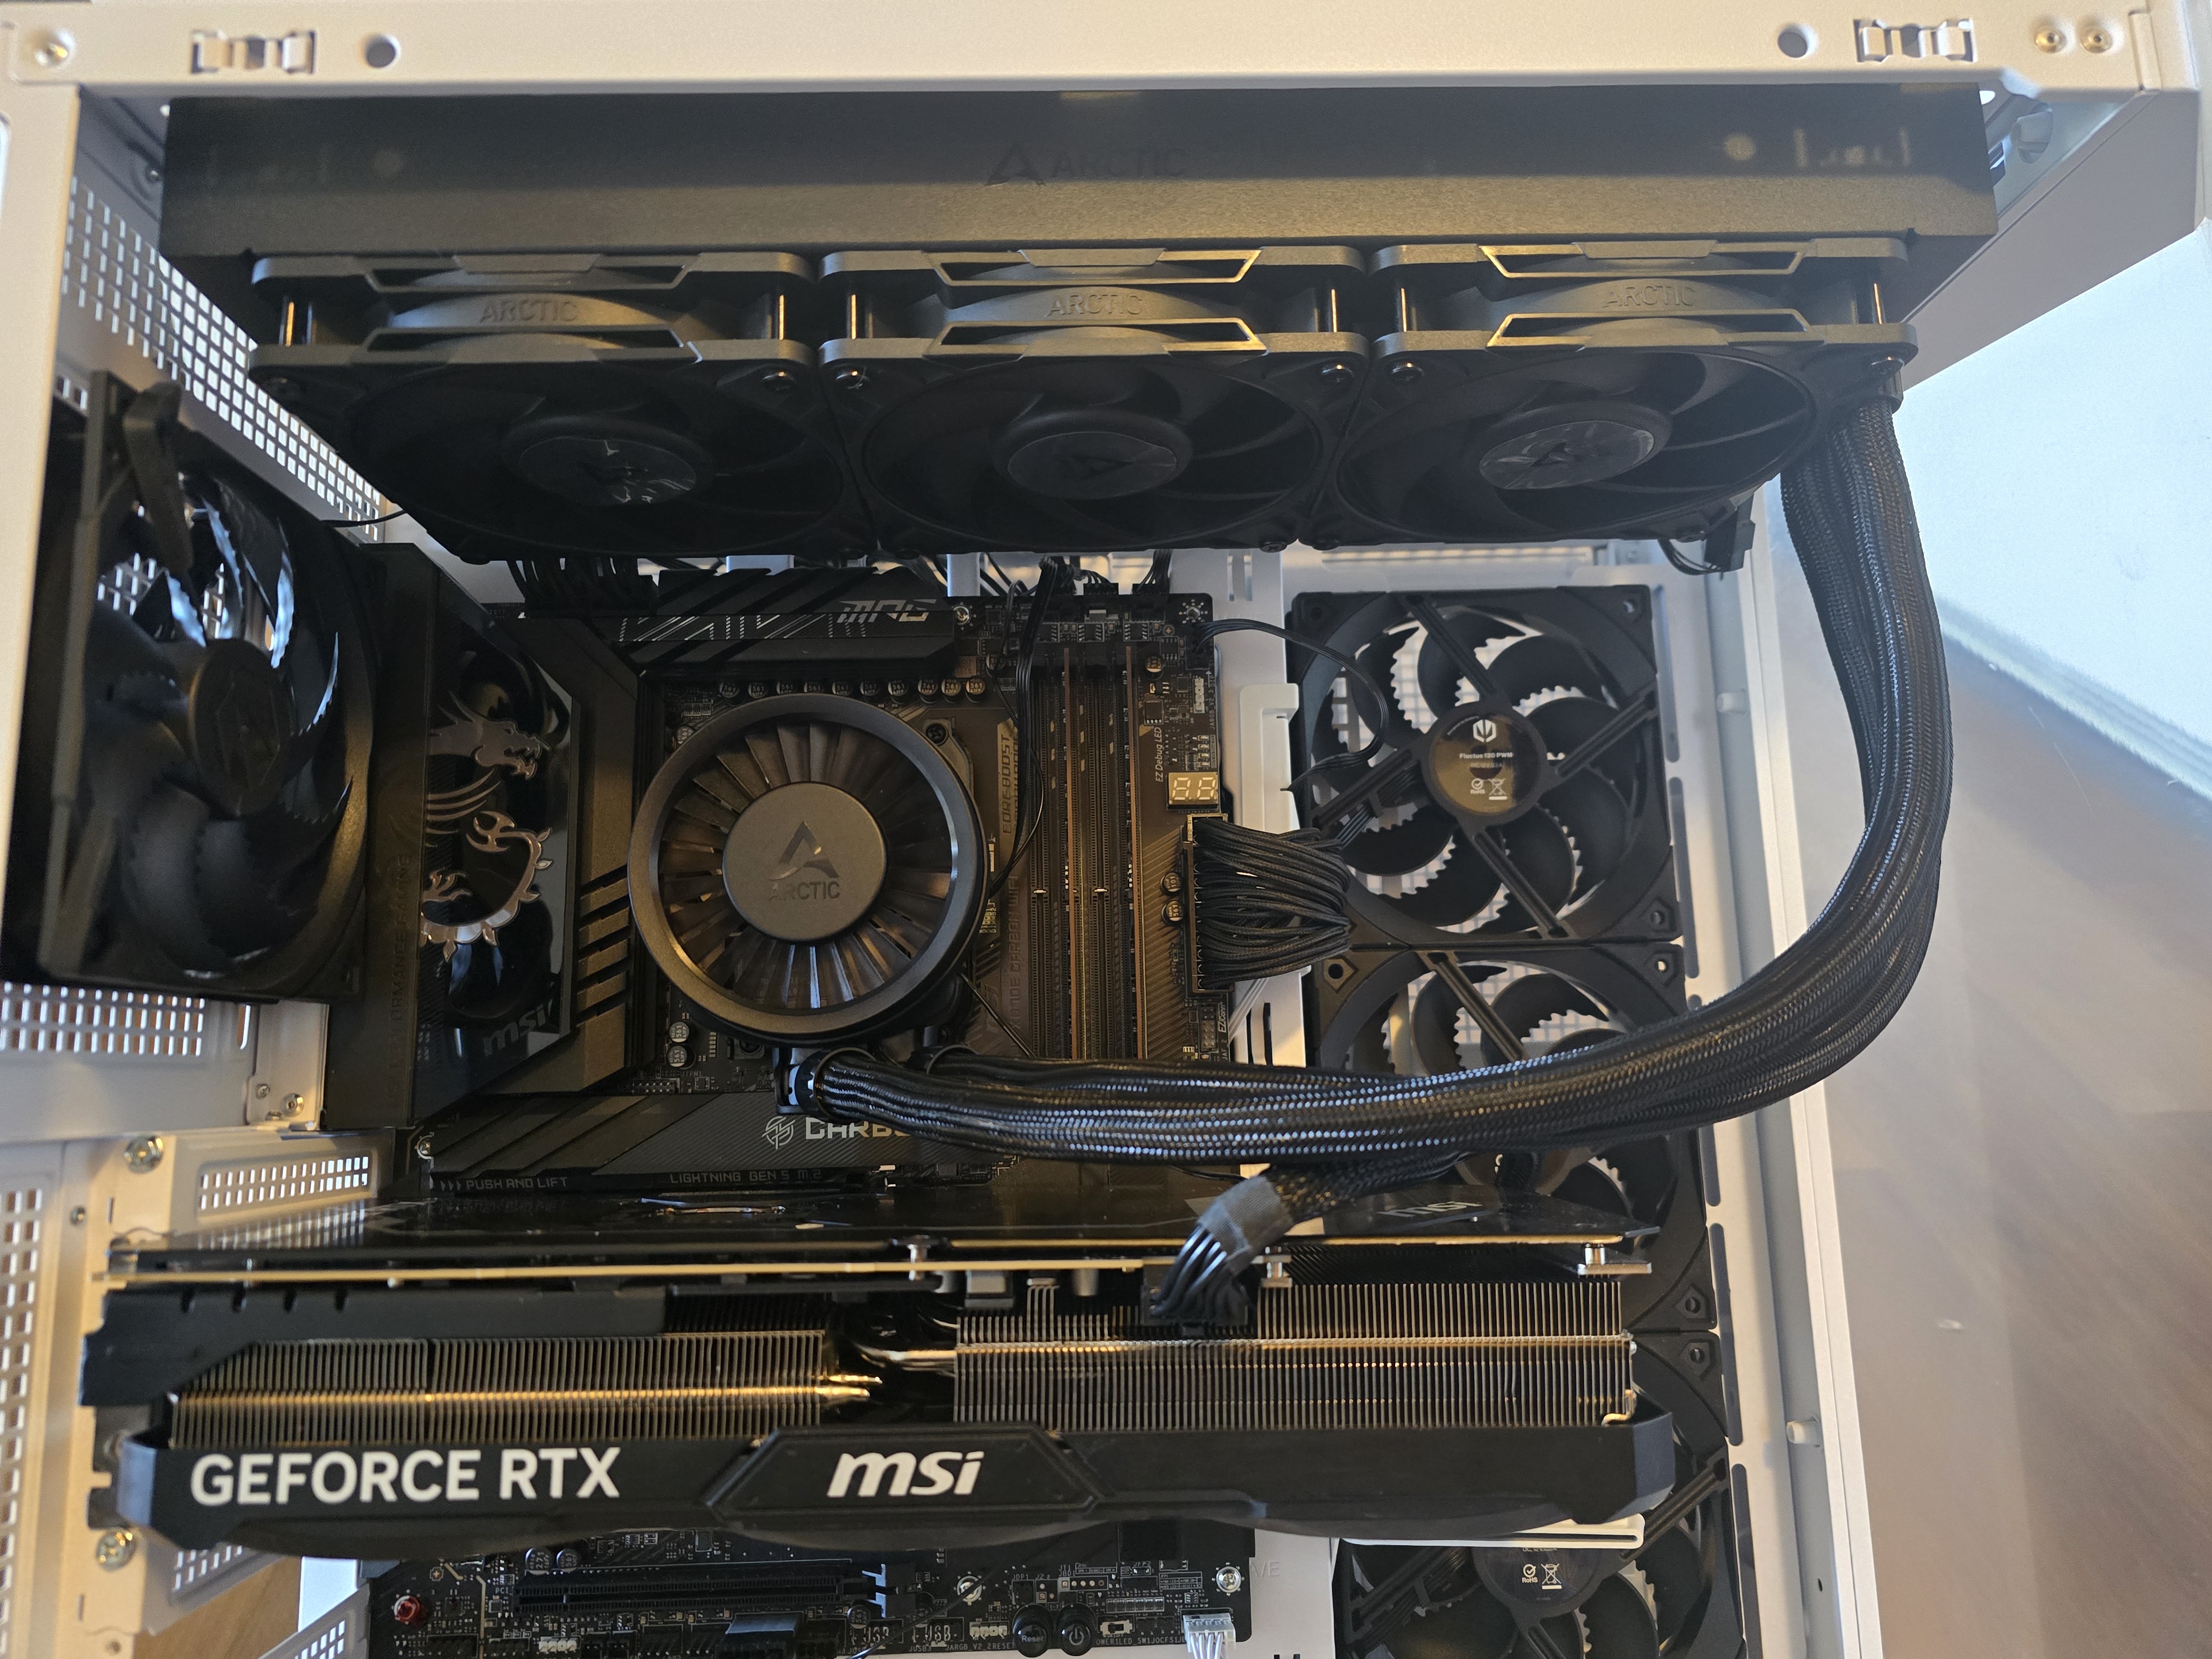
▶️ 38mm thick radiator
This AIO’s radiator is thick. At 38mm radiator and 25mm fans, that’s a combined thickness of 53mm – this will present compatibility issues with some cases. So make sure to do some measuring before buying if you’re installing in an existing build.
▶️ Offset mounting for Intel and AMD CPUs
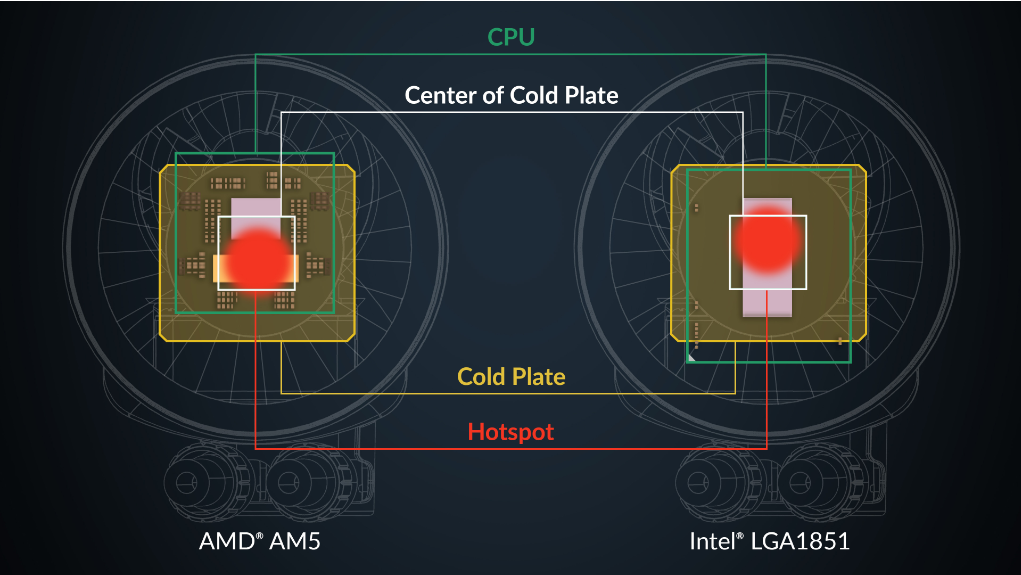
Different CPUs on the market can have different hotspots, which can impact the effectiveness of a cooler. This is why some coolers seem to do better – or worse – with AMD or Intel. Arctic refined its mounting for AMD AM4/AM5 and LGA 1851 systems, resulting in claimed performance increases of up to 9 degrees C with a 250W power limit.
▶️ Pump noise
This AIO’s pump can run a little louder than some users may prefer at full speed. It doesn’t interfere with my noise-normalized testing at 38.9 dBA, but as part of testing this cooler I’ve been investigating different ways to do noise-normalized testing at lower noise levels. To test this cooler normalized at 37.3 dBA required limiting the speed of the liquid pump. That said, if you set up this cooler using the all-in-one cable, the pump will not run at full speed except in the most intensive scenarios, resulting in a quietly running pump that never overpowers the noise of fans.
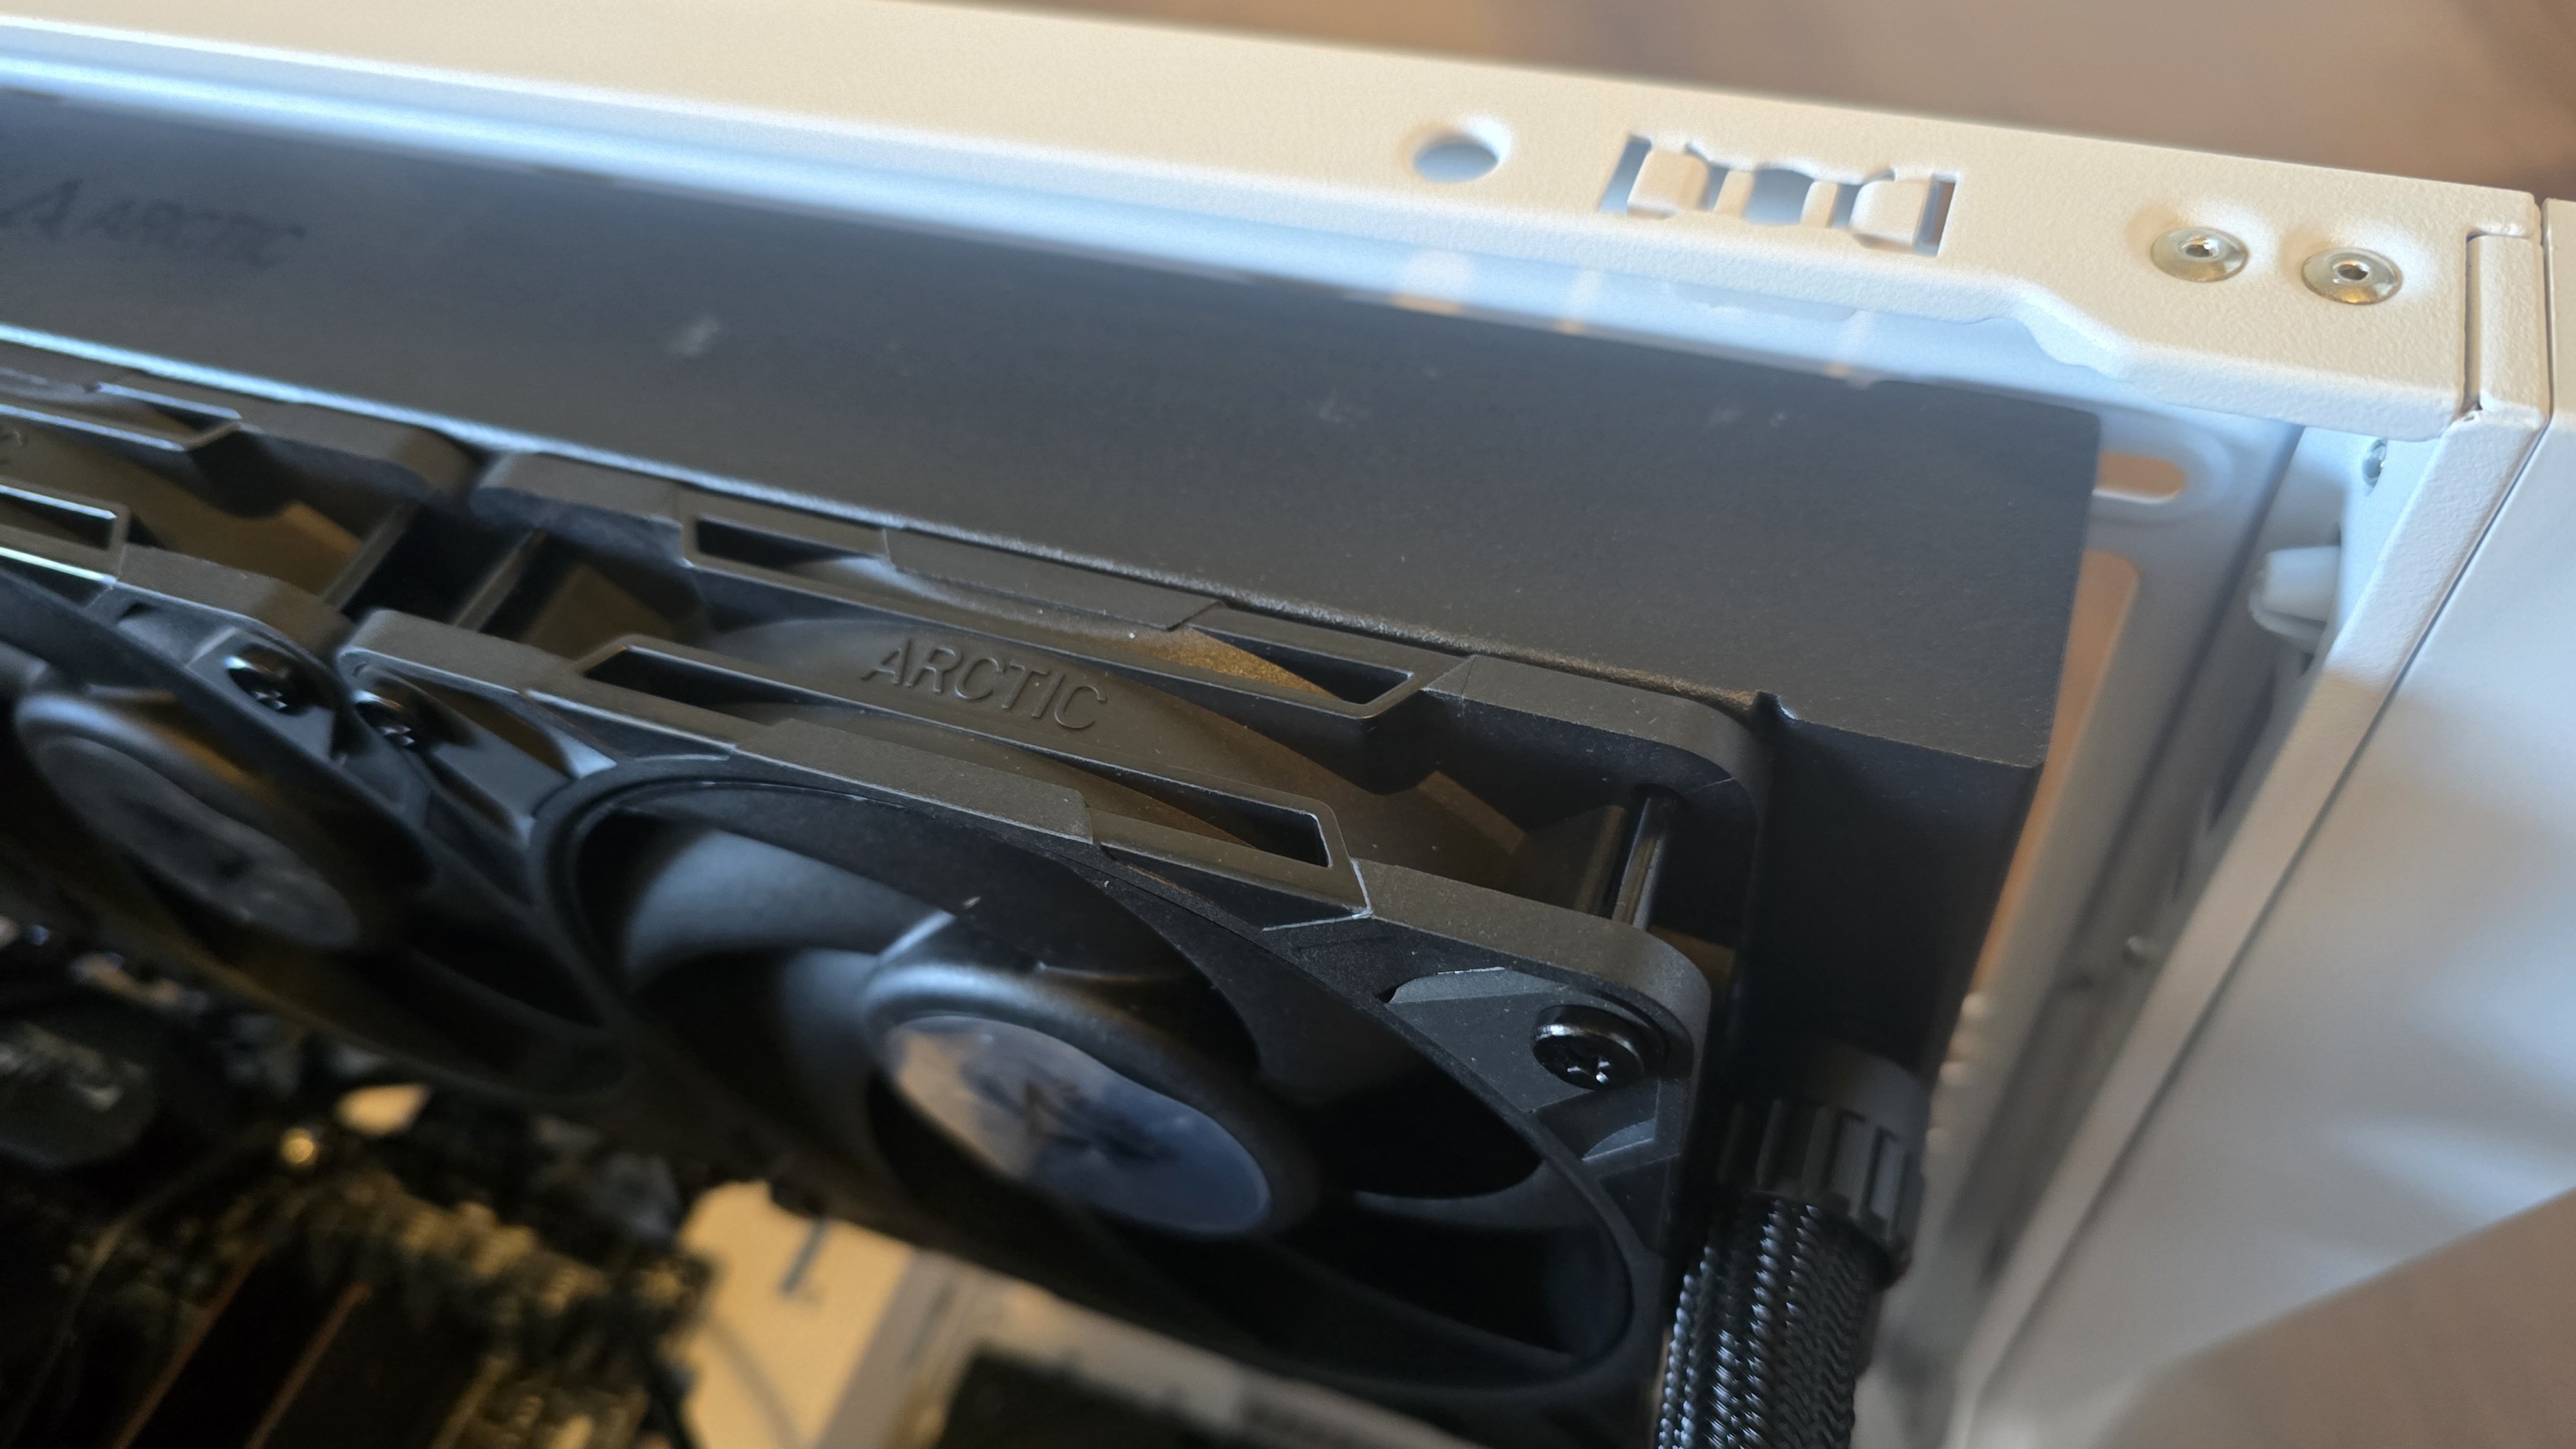
▶️ New P12 Pro Fans – and a VRM fan too!
There’s more to a cooler than just the heatsink or radiator. The bundled fans have a significant impact on cooling and noise levels, as well as how the cooler looks in your case.
The new P12 Pro fans include 7 blades instead of the 5-bladed fans included with previous Liquid Freezer CPUs, and are pre-installed for convenience. Arctic claims they perform at the same level as their MAX fans, but at a lower noise level. That’s not to say these fans run quietly though. As you’ll see in our benchmarks below, they can get pretty loud!
Swipe to scroll horizontally
Dimensions | 120 x 120 x 25mm |
Fan Speed | 600-3000 RPM |
Air Flow | Up to 77 CFM |
Air Pressure | Up to 6.9 mmH2O |
Bearing Type | FDB |
MTTF | 6 Year Warranty |
Lighting | None |
Real world testing configuration – Intel LGA1700 and AMD AM5 platform
My results may differ from others because I place an emphasis on having results that are comparable to real world use.
This means that I test CPU coolers inside of a closed desktop case, which increases cooling difficulty compared to other testing methods - many will test CPU coolers outside of a case, on an open test bench. Open benches have lowered ambient temperatures, which in turn makes weak coolers appear stronger than they really are. Some publications have used generic thermal plates to test cooling solutions.
I reject both of these methods because they don’t accurately reflect the real world conditions a CPU cooler is used in.
Swipe to scroll horizontally
My previous reviews have also tested Intel’s latest platform, using the Core Ultra 9 285K Arrow Lake CPU. We’re going to be retiring this from our testing suite. Between BIOS updates and Windows updates, Arrow Lake’s thermal characteristics have changed in some scenarios – rendering much of our previous testing data useless.
With today’s review, we’re adding AMD’s recently released Ryzen 9 9950X3D! This is one beast of a CPU, providing the best gaming and multithreaded performance on the market – and can prove quite challenging thermally when PBO is enabled for overclocking.
Swipe to scroll horizontally
AM4/AM5 and LGA 1700/1851 installation
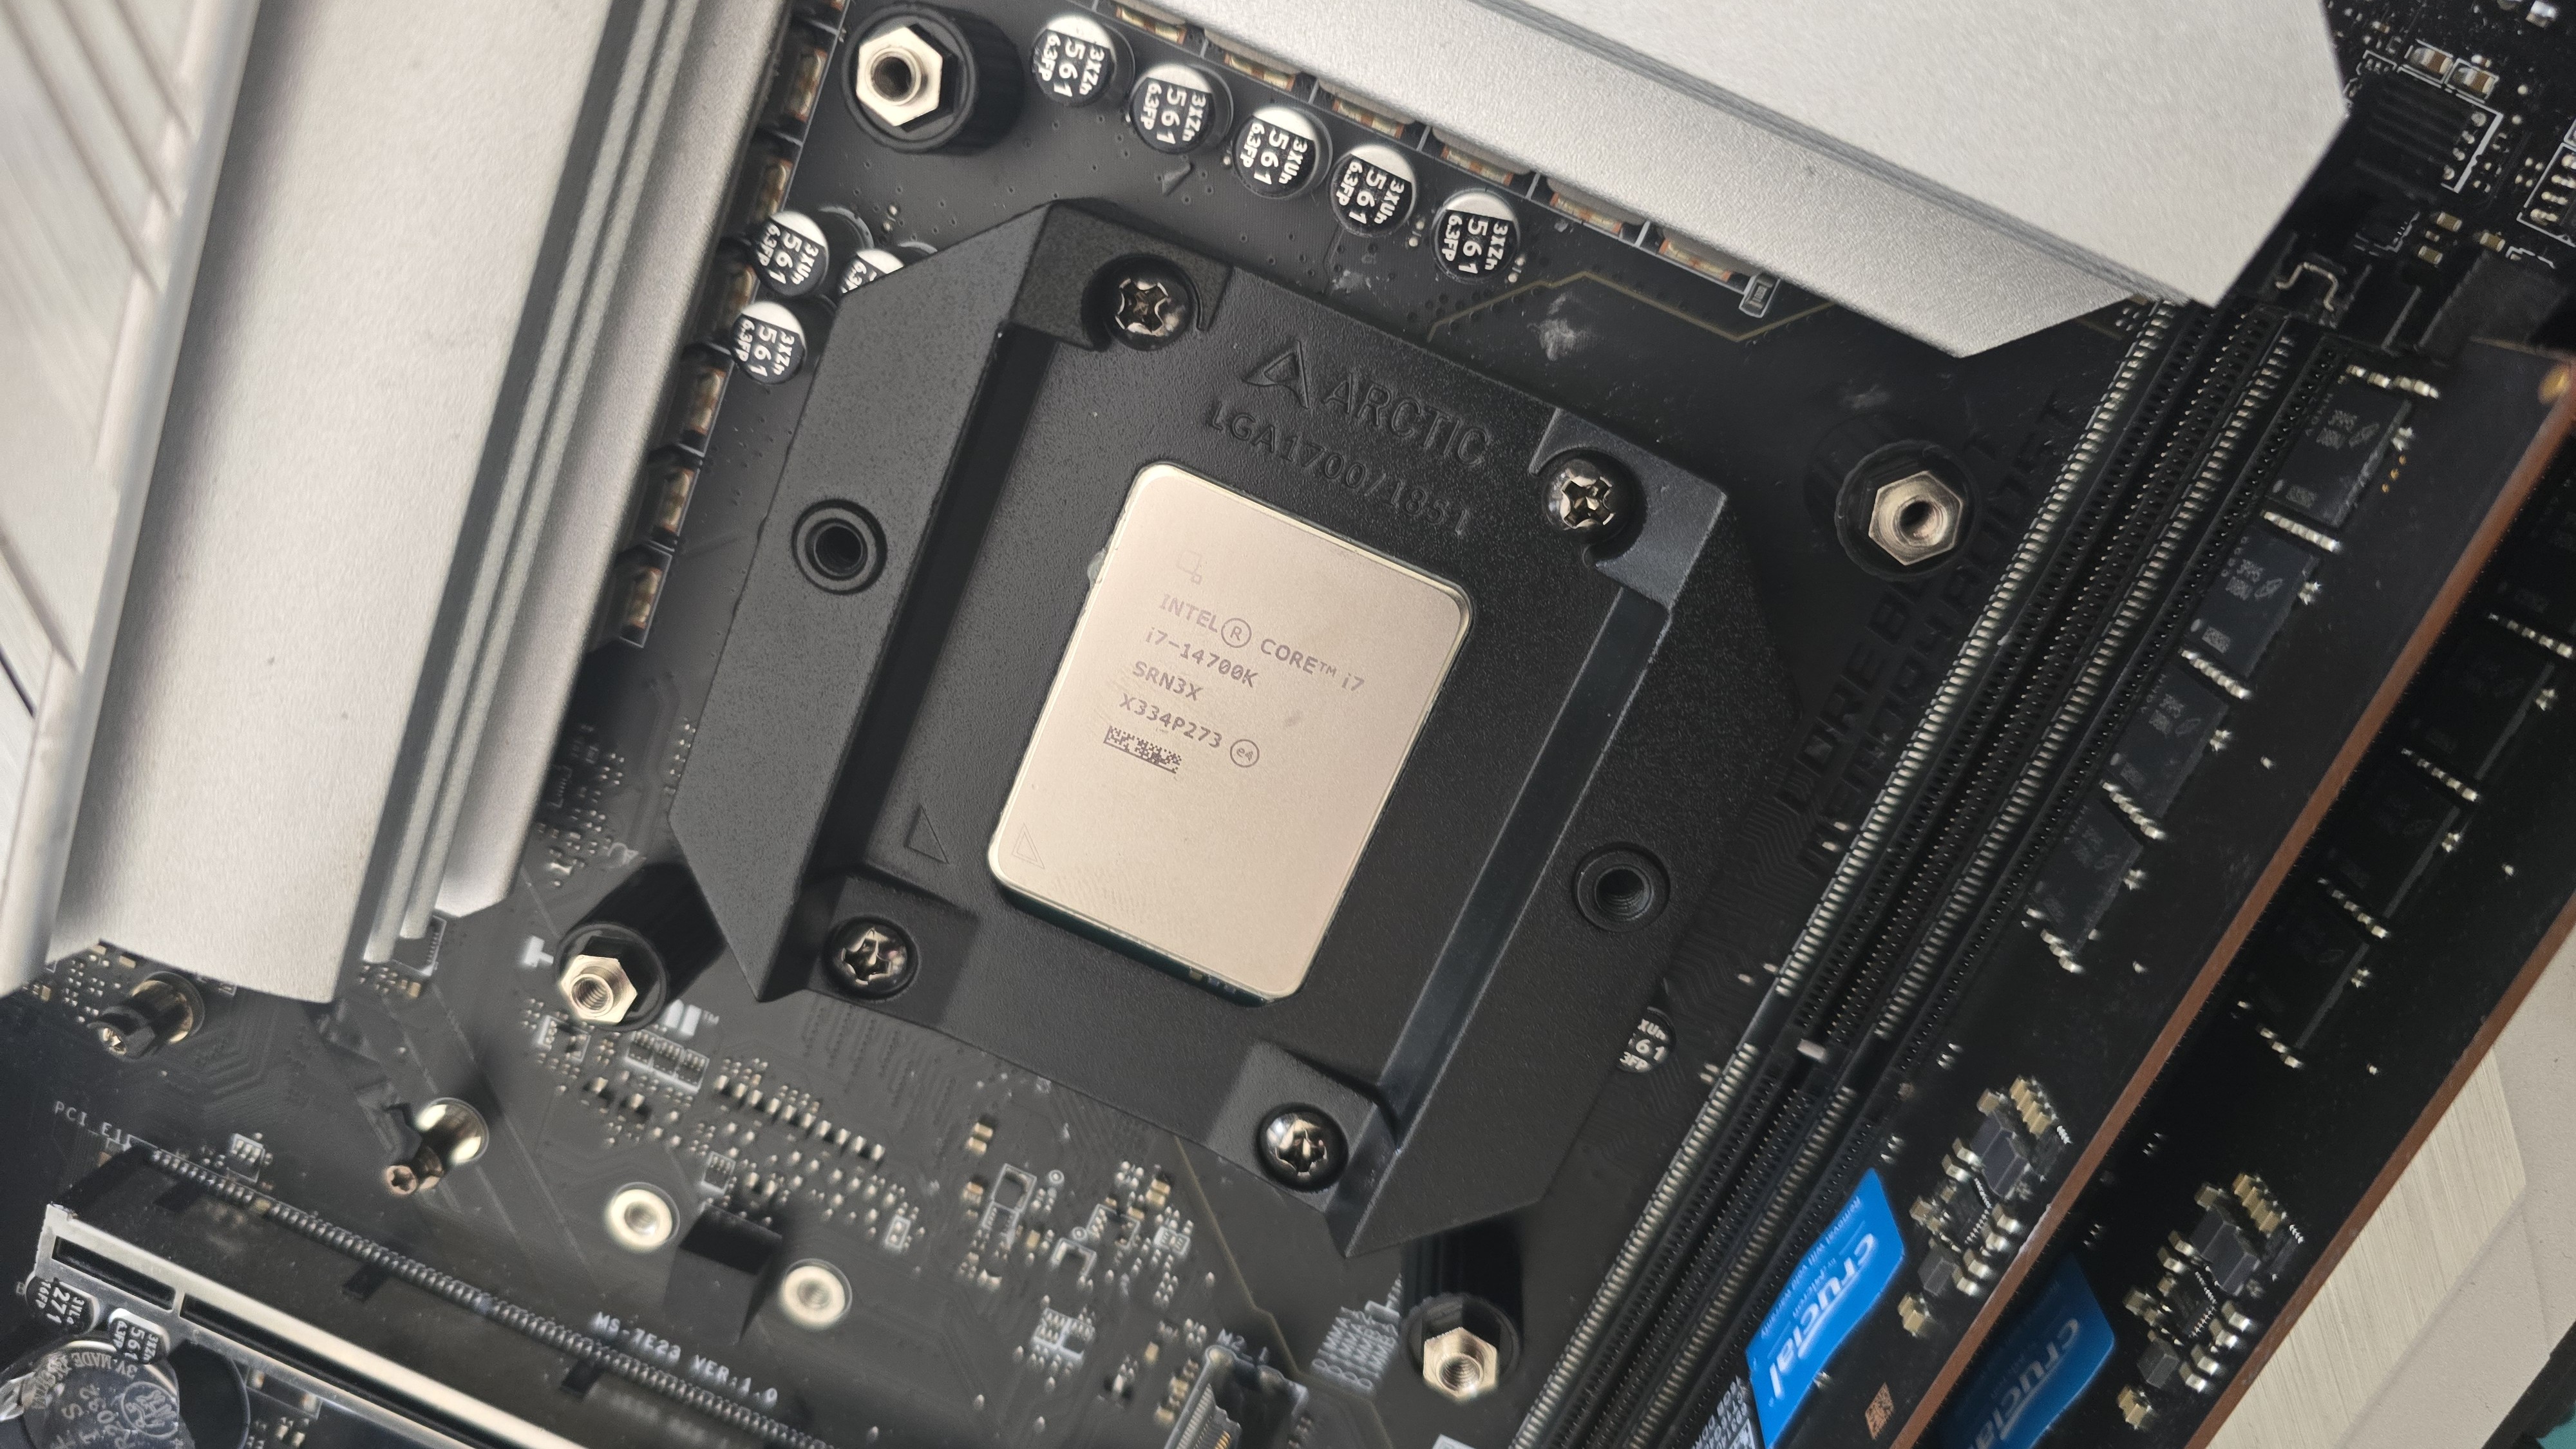
The installation of this cooler is simple, but a bit of a pain for Intel users due to the required use of a custom contact frame for the CPU.
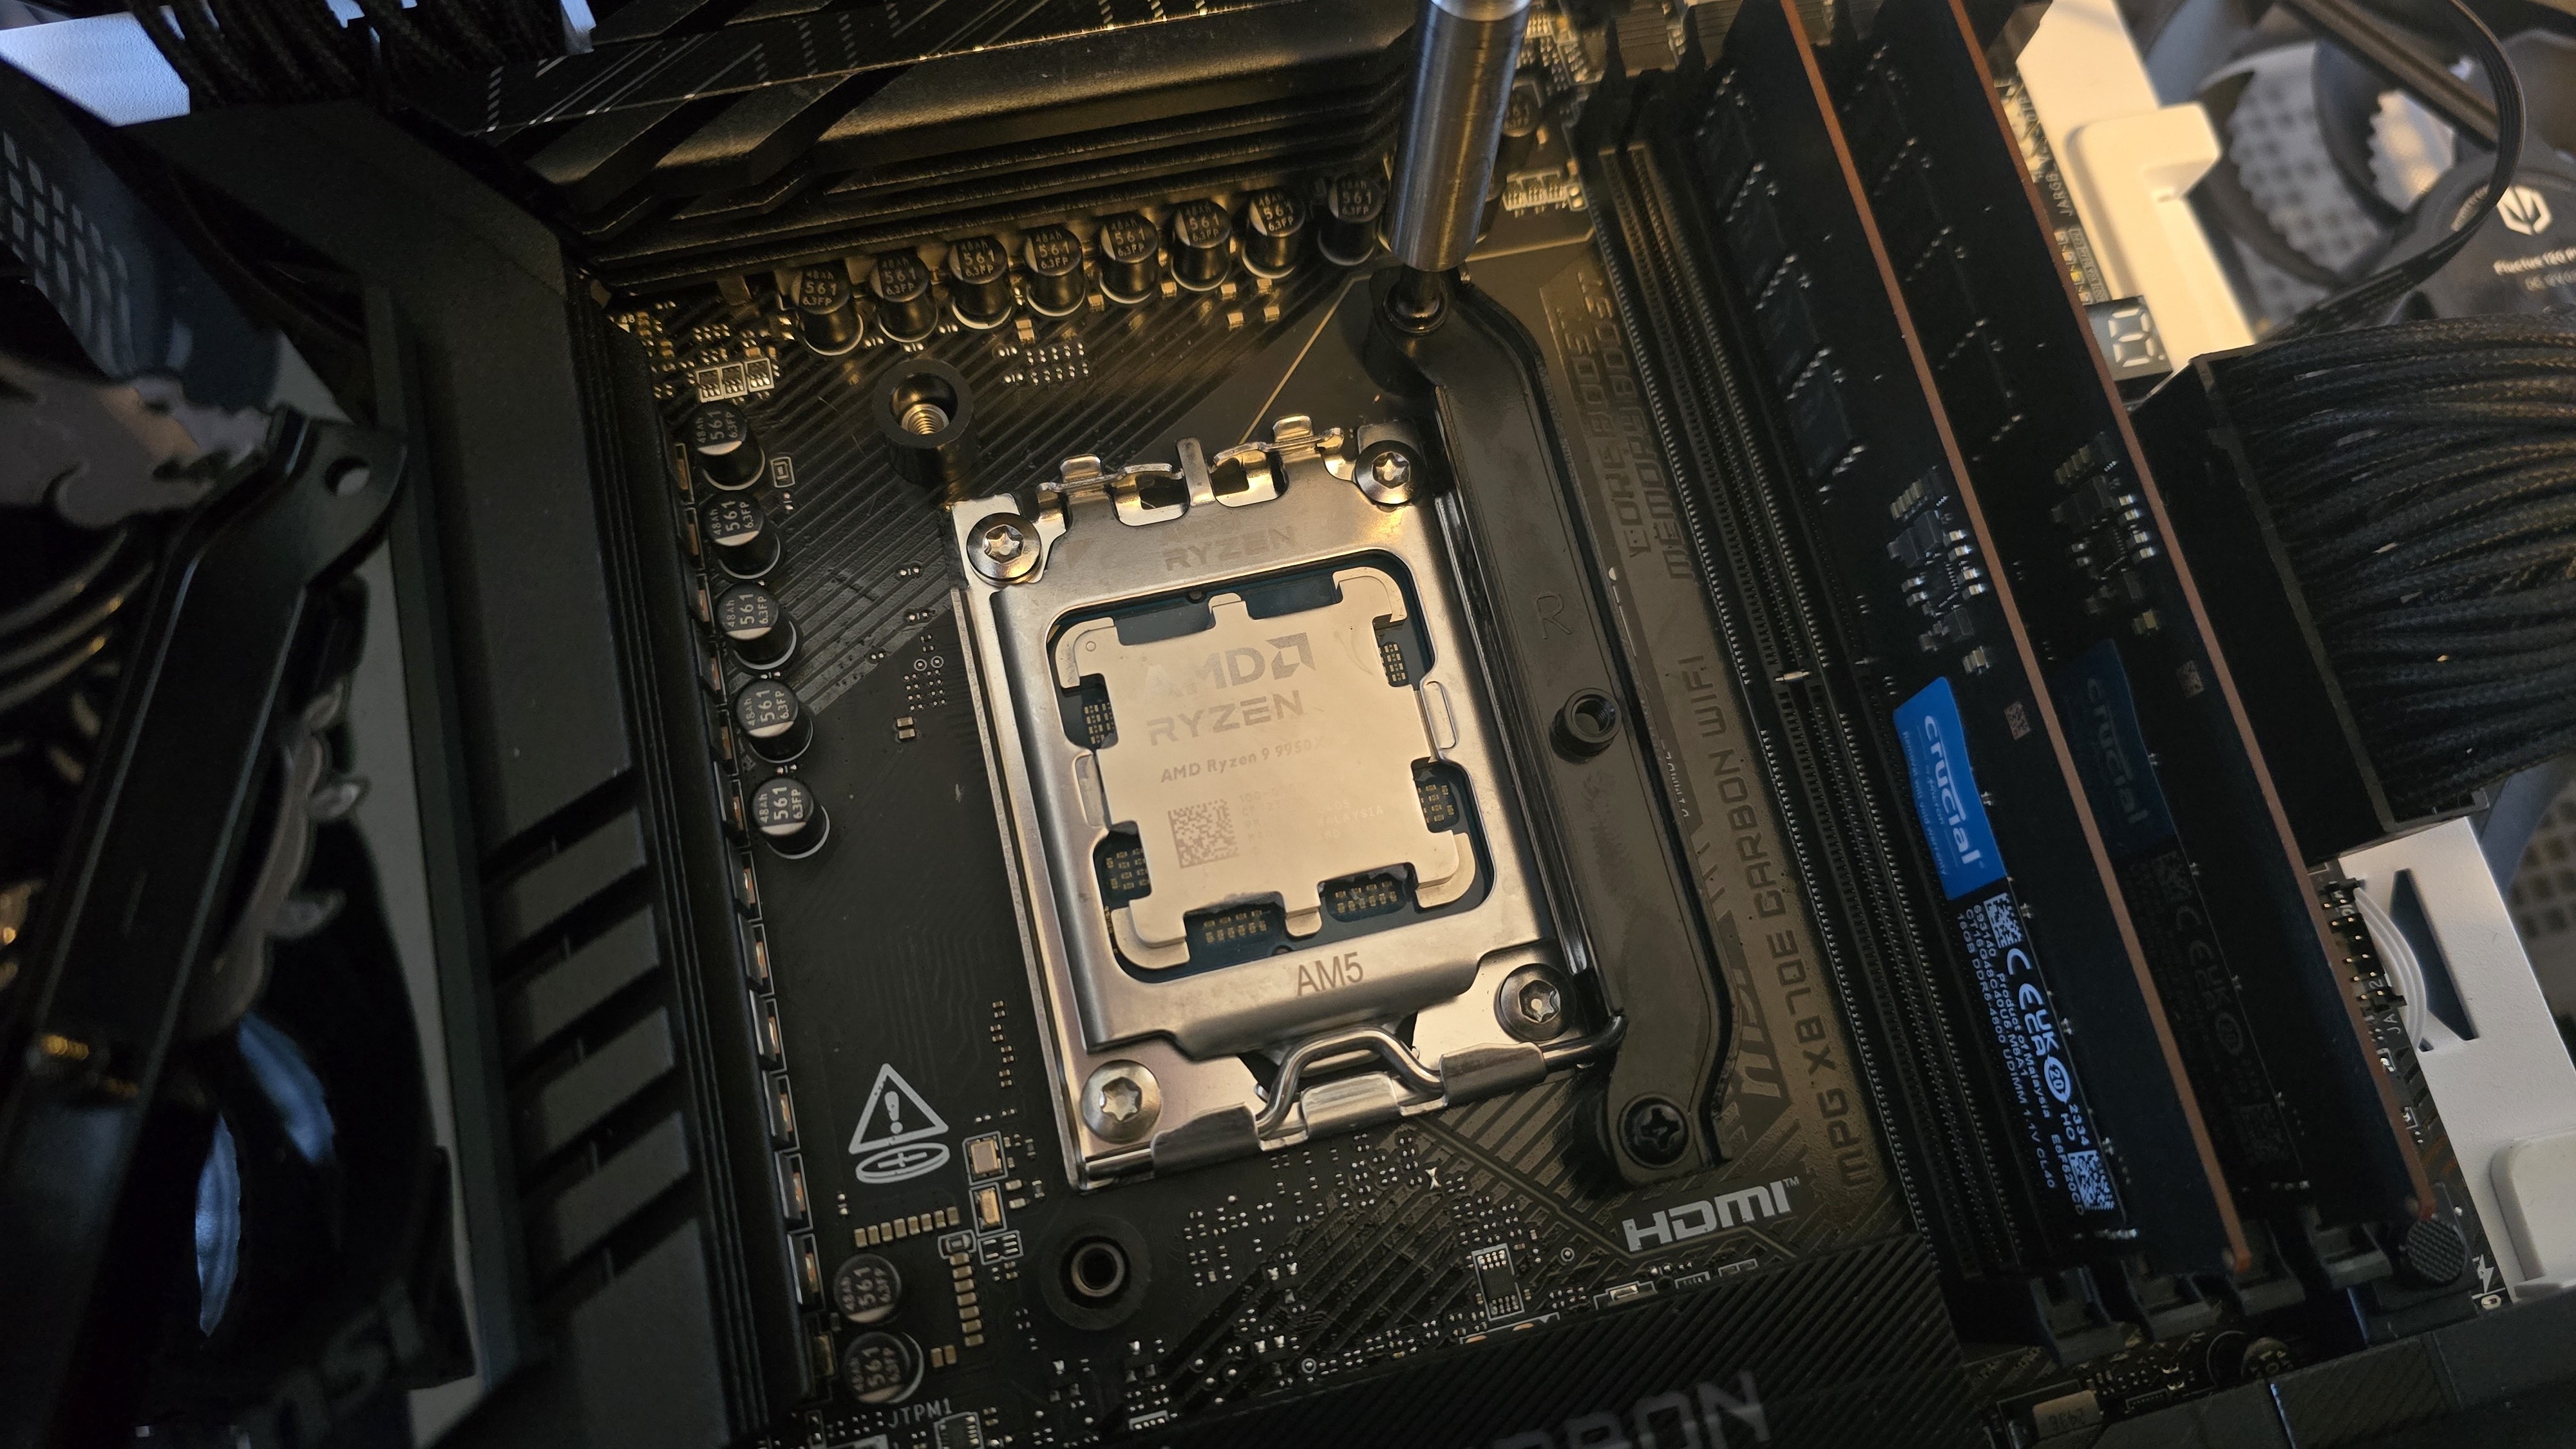
1. You’ll first need to remove the standard CPU socket if you’re using an Intel CPU. AMD users will remove the default mounting mechanism.
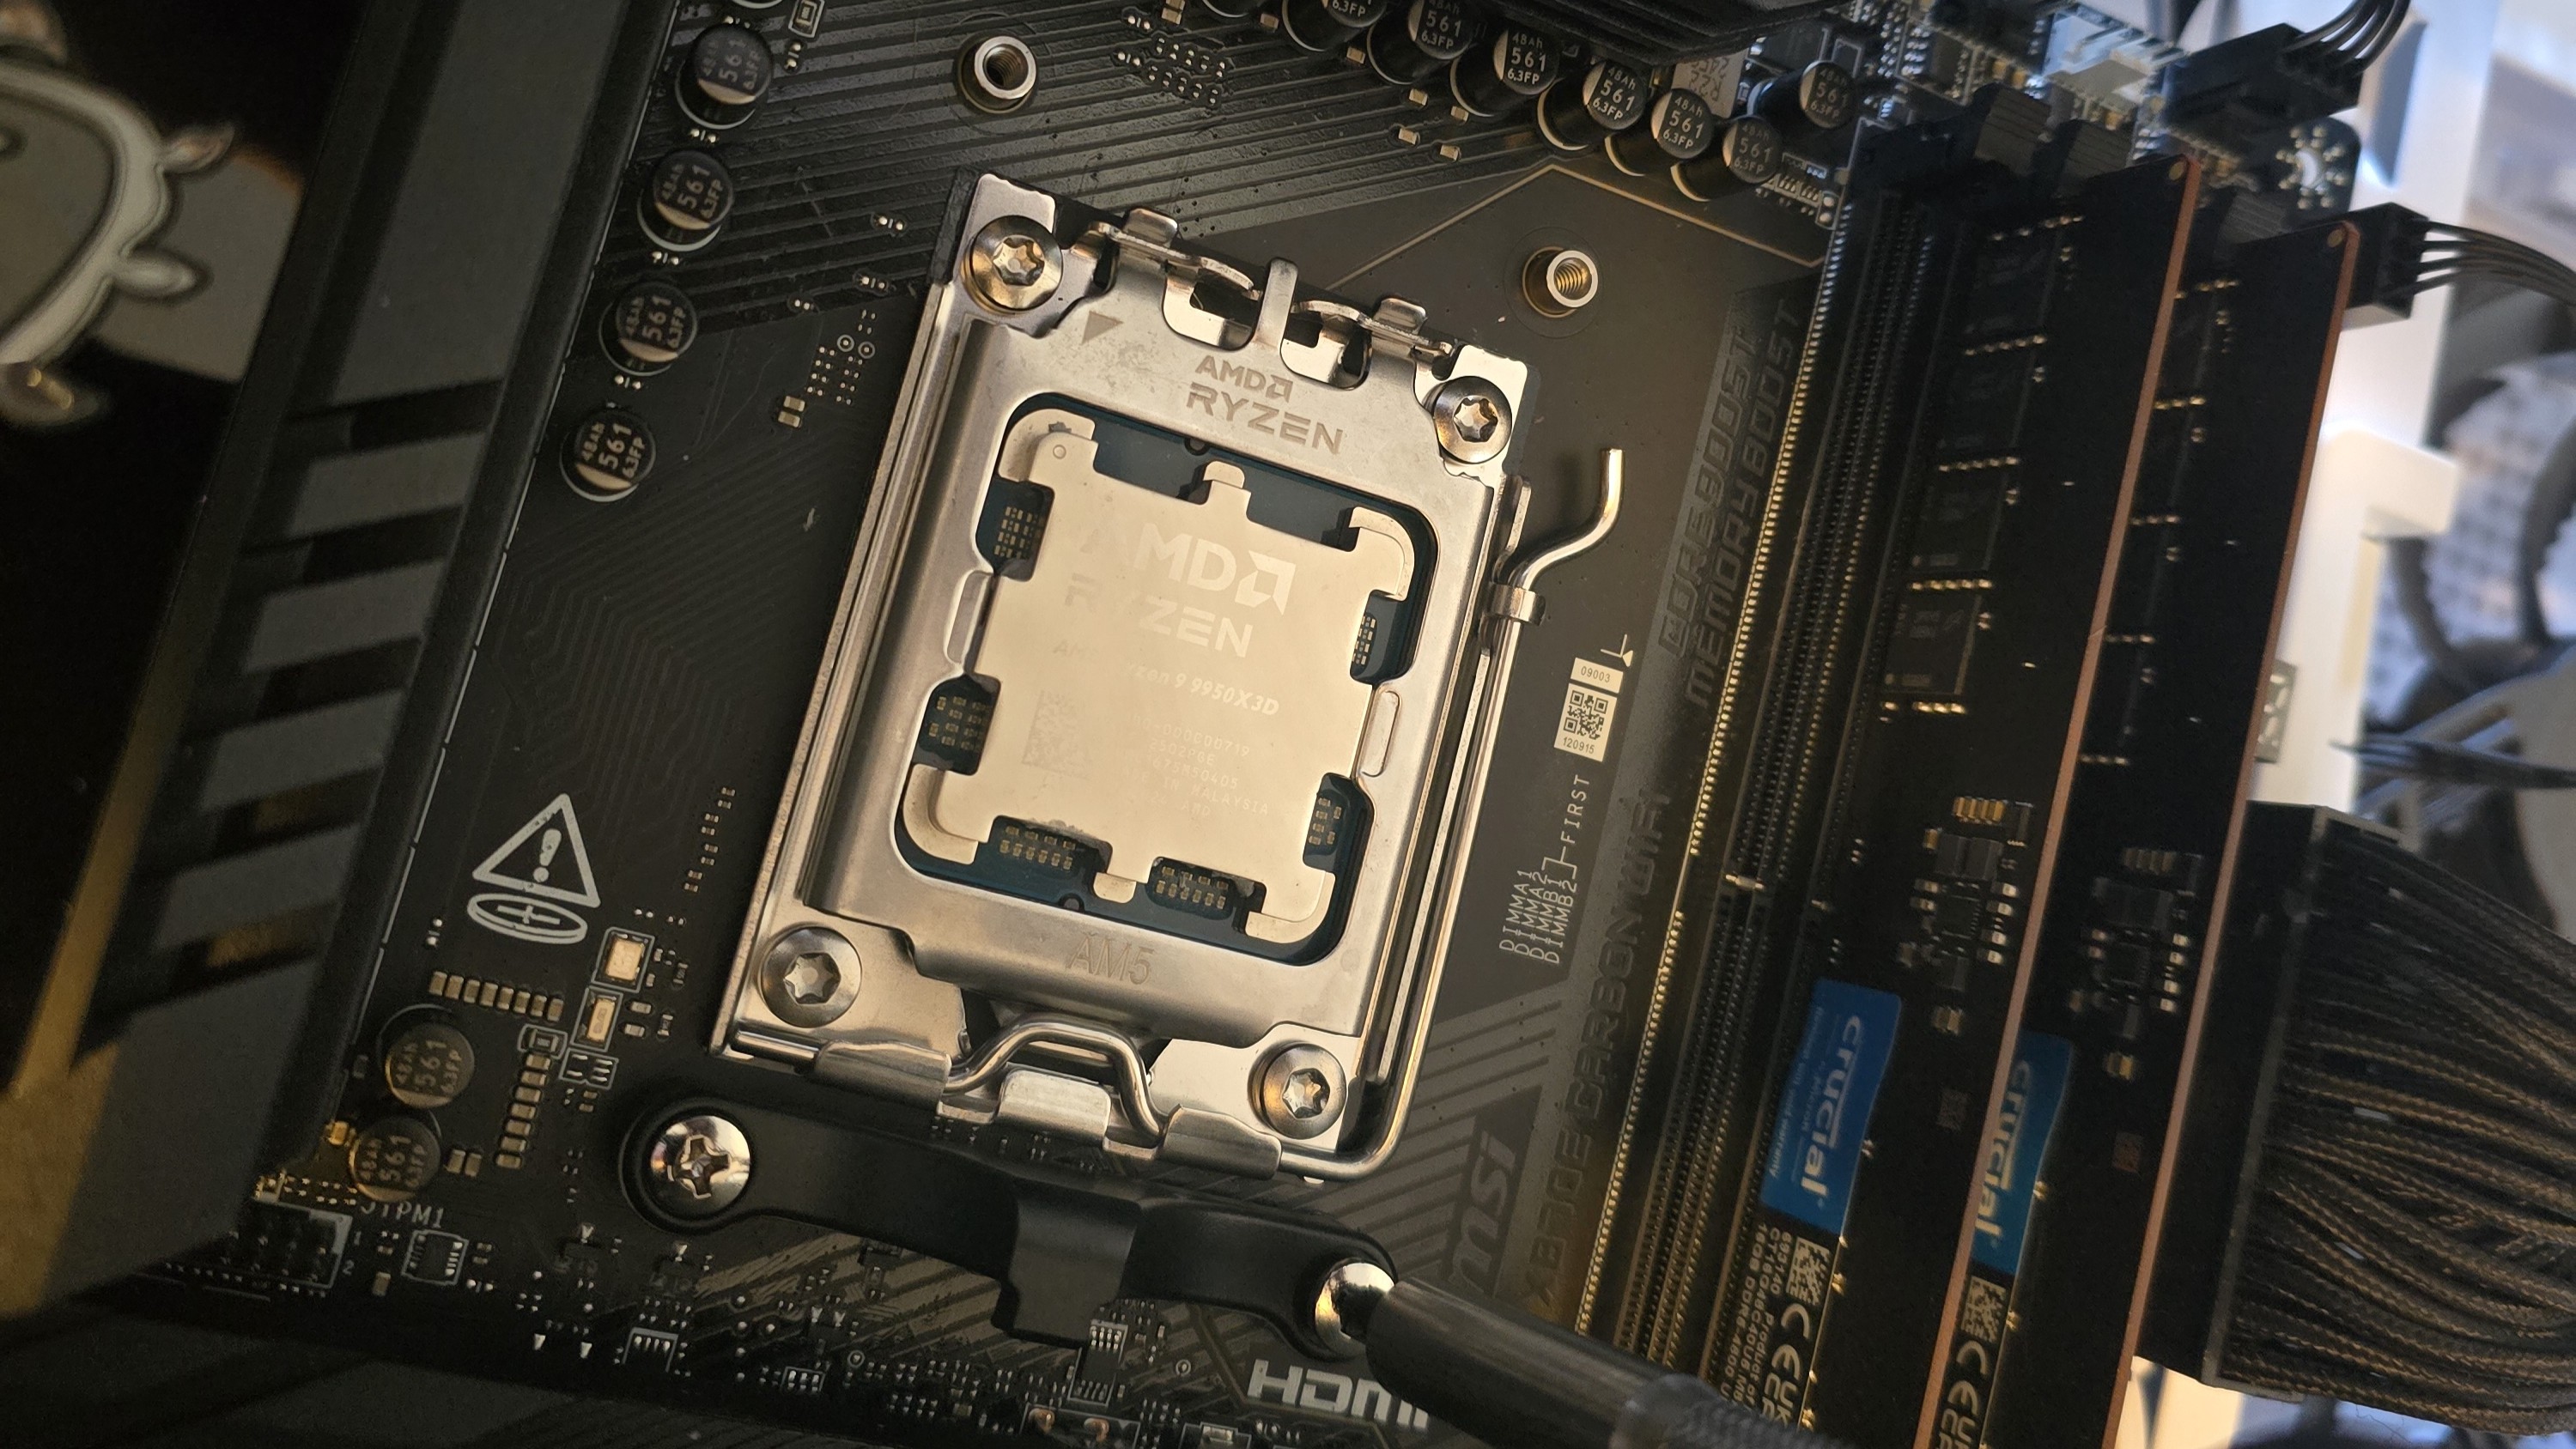
2. Next you’ll set the rubber standoffs on AMD systems, or carefully install the custom mounting frame for Intel systems.
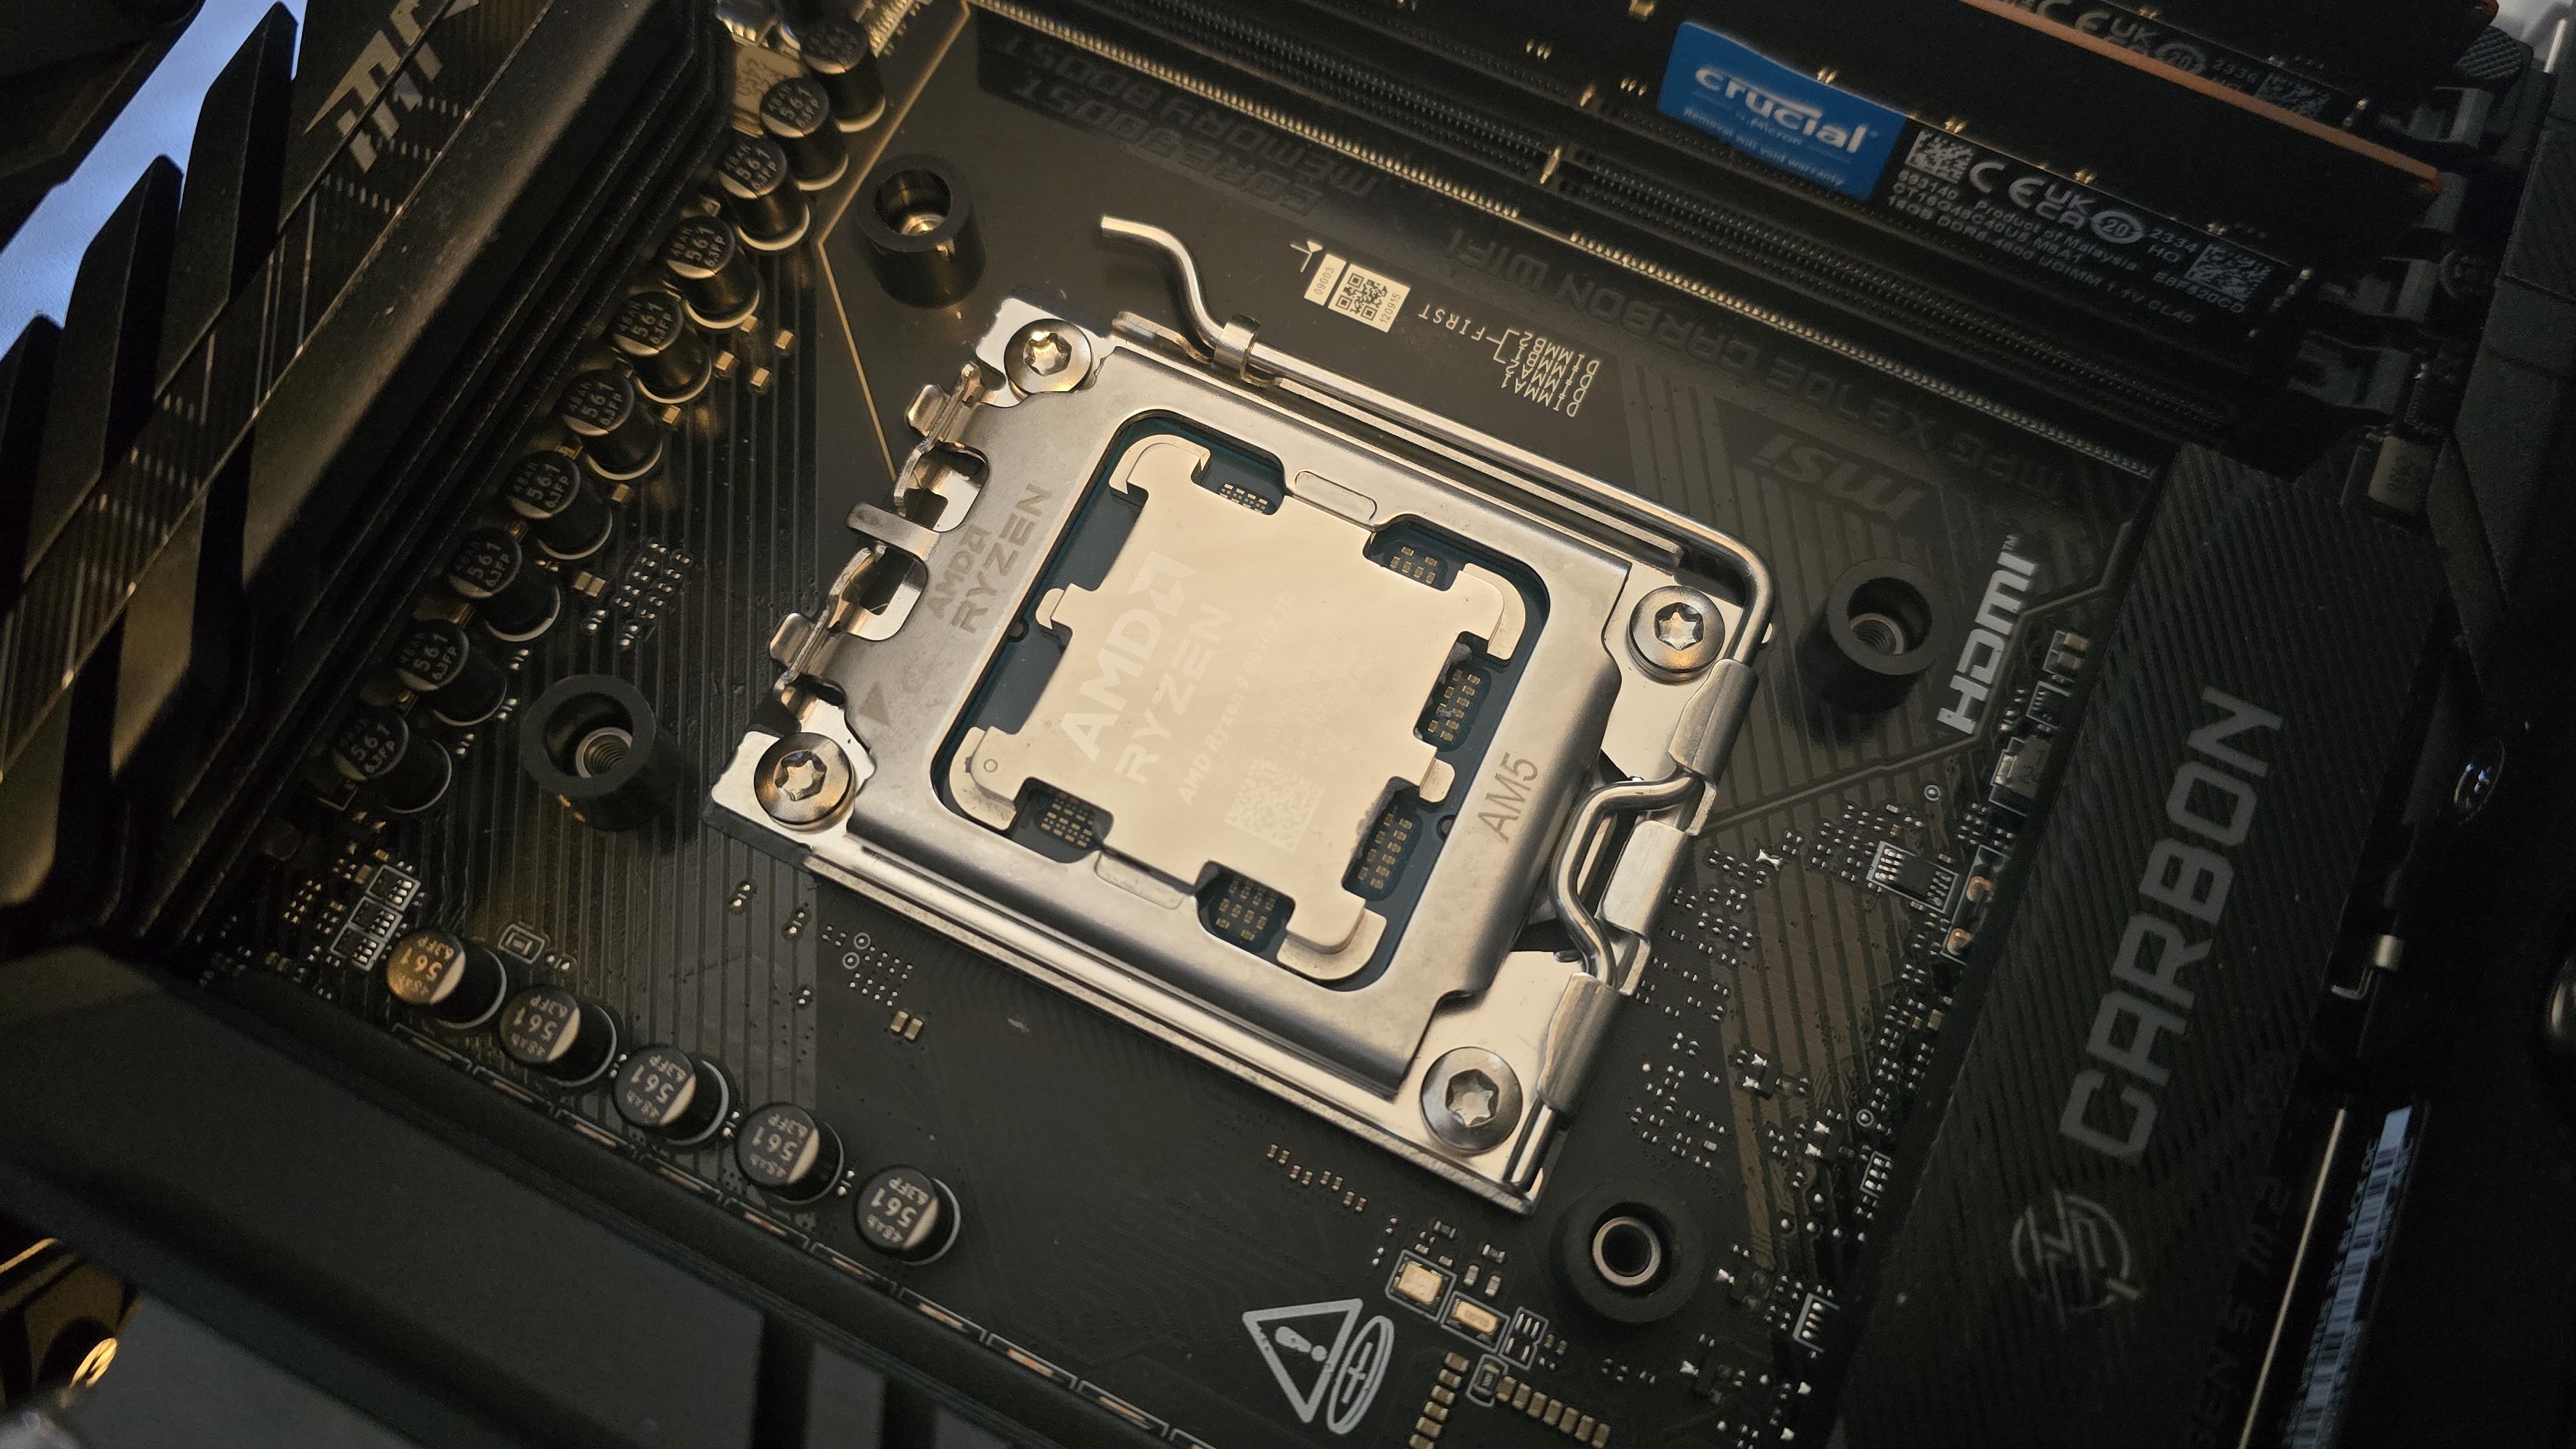
You may notice the additional standoffs present in the Intel system’s photo below. This is because I used another cooler’s mounting to secure the CPU socket while I installed the custom frame.
3. Next, AMD users should take the mounting bars and place them on top of the rubber standoffs, securing them with the included screws. Intel users can skip to the next step.
4. Apply the included thermal paste to your CPU. If you have any questions on how to do this properly, please refer to our handy guide on how to apply thermal paste.
5. Mount the CPU block and secure it with a screwdriver.
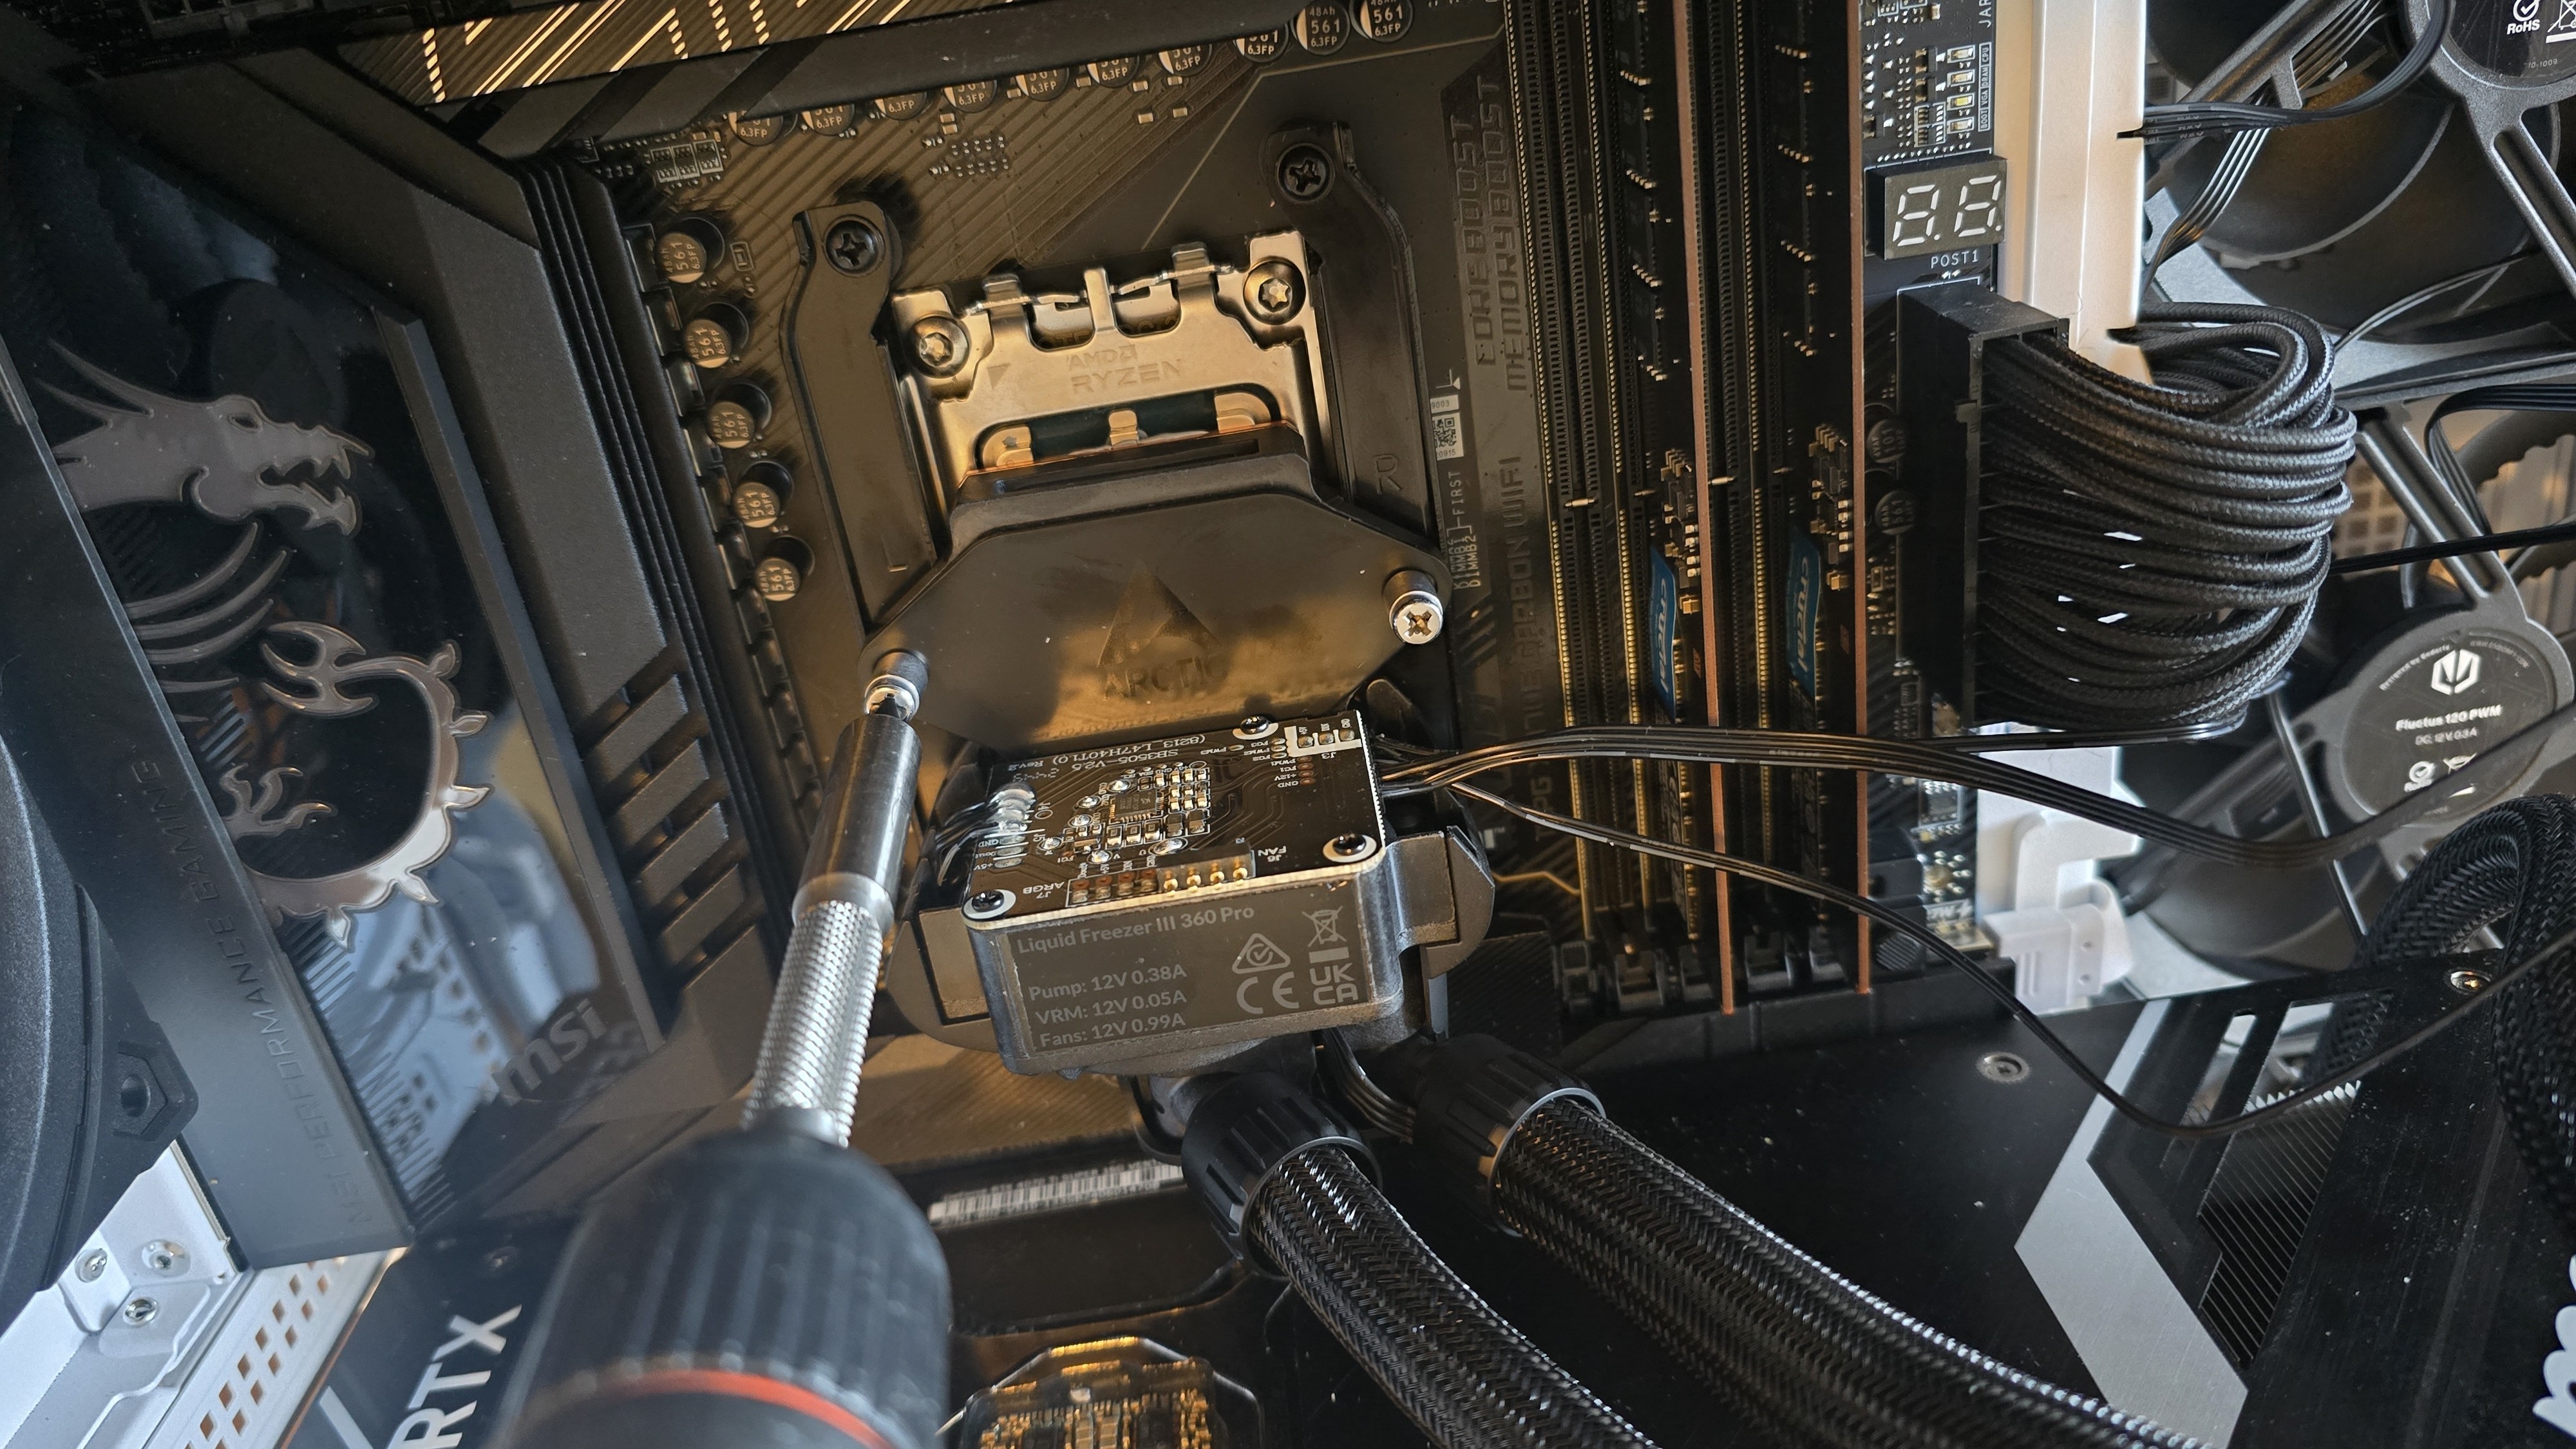
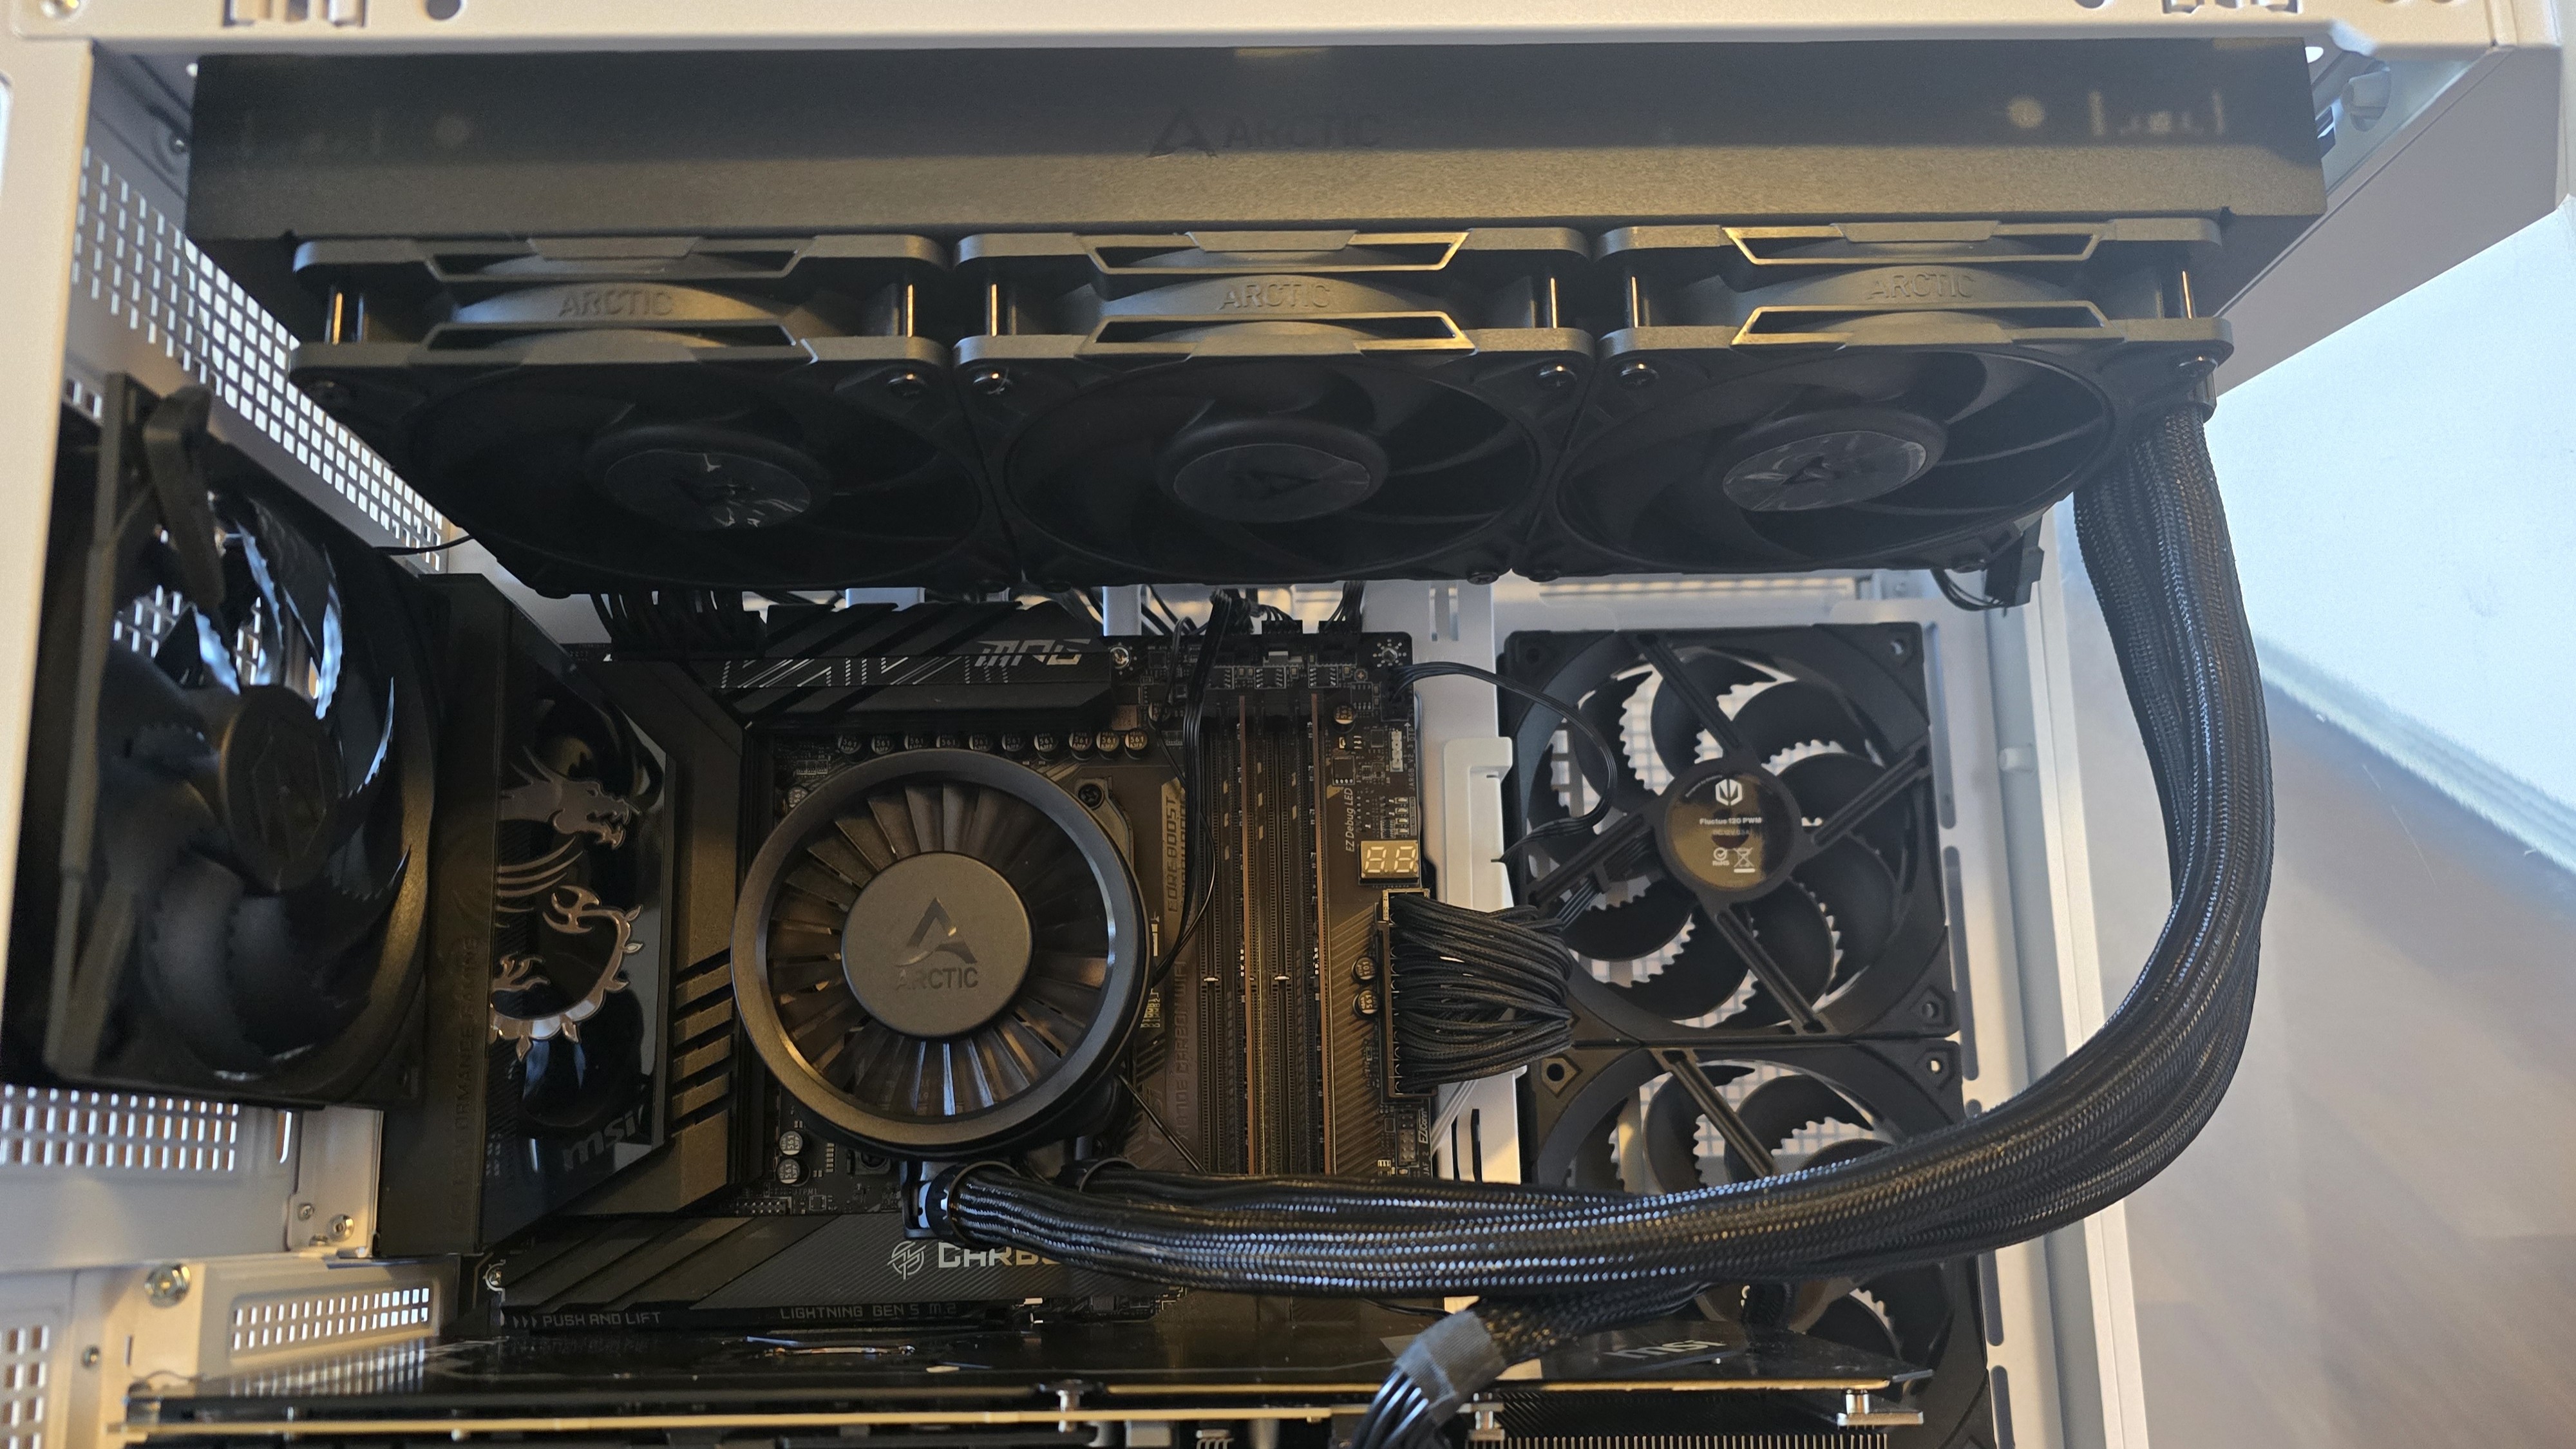
6. Once complete, connect the cabling to the CPU block’s head. For the purposes of testing, I chose the option with individual PWM control for the fans, pump, and VRM fan. However, some users may prefer the simplicity of the all-in-one cable. Connect the cables and place the VRM fan on top of the CPU block, and installation is complete!


 English (US) ·